
Match the Vinyl Fence Repair to the Damaged Part
Decide when to patch a vinyl fence or replace boards, rails and posts. Check part fit, retaining connections, footings and gate support before starting.
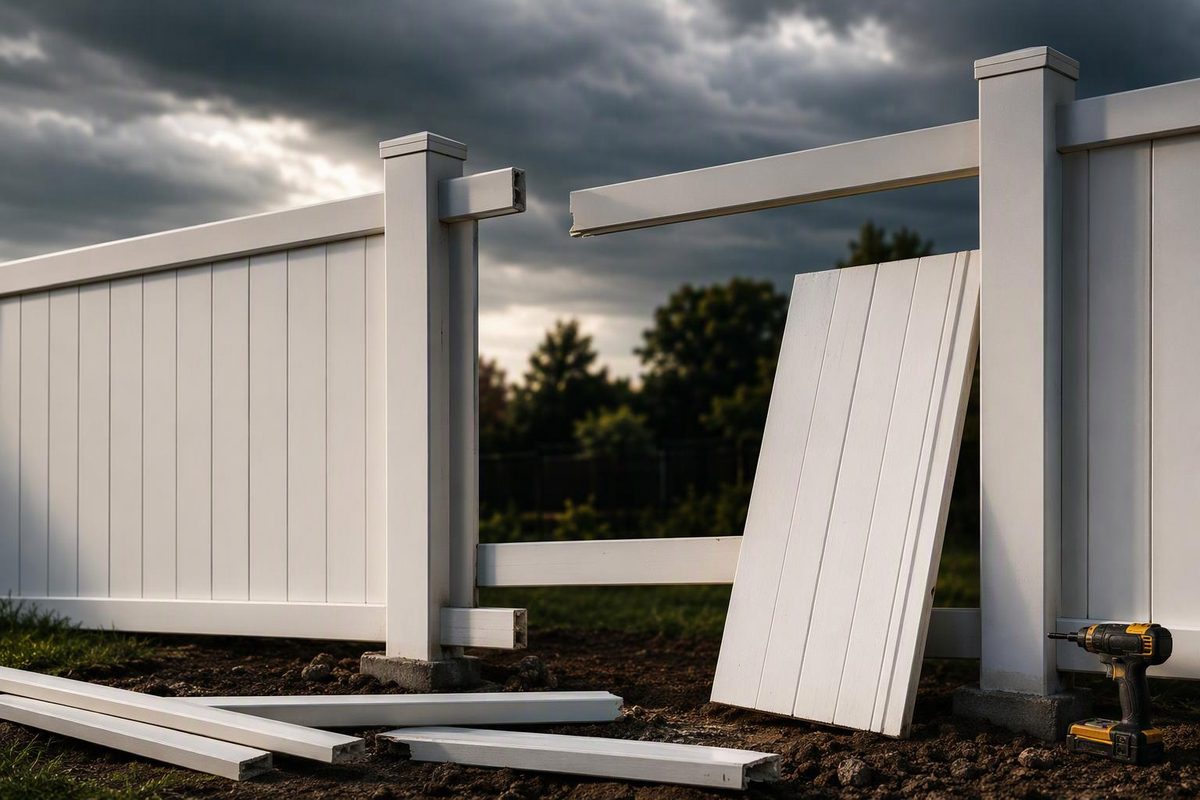
To repair a vinyl fence, patch only small, isolated holes in otherwise sound boards where appearance is the main concern. Replace shattered boards, split rails and broken retaining hardware. A leaning post or moving footing needs its support corrected before you repair the panel; filler will not solve those problems.
Select the damage you see; use the result to choose your next step.
Choose the Repair Path
Choose support damage if you also see panel damage.
Consider a Cosmetic Patch
Use a compatible outdoor vinyl repair kit only if the surrounding board is sound. Follow the kit’s preparation and curing instructions.
A patch does not restore support or a retaining connection. Replace the board if those areas are damaged.
Pool barrier: restrict access until restored and check local requirements. Pet containment: keep pets away from the damaged section.
Source: article repair-selection recommendations; Lowe’s patch guidance and the cited manufacturer instructions. These are not manufacturer-approved damage limits.
The repair method also depends on the fence system. Rails may fit into routed openings in posts or attach through external brackets. Identify that connection before pulling anything apart.
Separate Cosmetic Damage From Failed Connections
A broken tongue-and-groove edge or extensive cracking calls for board replacement, not a cosmetic patch. If a rail has popped out without an obvious break, inspect the retaining tabs, clips, brackets and post alignment before reseating it. Replace damaged retaining components with matching parts.
These are repair-selection recommendations, not manufacturer-approved damage limits. For a pool barrier, restrict access until the barrier is restored and check applicable local requirements; Barrette’s instructions direct owners to local building codes for pool-safe fencing. For pet containment, keep pets away from the damaged section rather than relying on a cosmetic patch.
Identify the Fence System Before Buying Parts
Look for the original invoice, product label or installation manual. Send the supplier photographs of the whole section, rail-to-post connection and damaged part.
Measure and record:
- Rail width, depth and full length—not only the visible span between posts.
- Picket or privacy-board width, thickness, length and edge profile.
- Post outside dimensions and routed-opening positions, or bracket dimensions.
- Retaining tabs, separate clips, screws and any internal reinforcement.
“White vinyl” is not a complete specification. Fencing Direct’s repair guide notes that colors vary across manufacturers and recommends matching rail dimensions and connection features. Even a same-brand replacement may differ from weathered material: Catalyst’s warranty explicitly does not promise identical replacement color or gloss.
Before cutting or discarding parts, photograph the damage and check the warranty that applies to your purchase. Do not assume storm or impact damage is covered; Catalyst’s warranty, for example, excludes foreign-object impacts and specified natural events.
Replace Boards and Rails Using the Correct Release Method
Have the replacement part and the correct release method ready first. For a disassemblable privacy section with boards captured between rails:
- Document and support the section. Photograph the assembly and support loose rails or boards. Place removed components on a drop cloth. Use eye protection when cutting, drilling or assembling.
- Release the actual connection. Remove specified retaining screws or bracket fasteners. For routed systems, identify whether the rail uses integral snap tabs or separate lock rings. Do not assume that pulling harder will release it.
- Remove enough components to reach the damage. Releasing the top rail may allow boards to lift from the bottom rail. Keep sound boards in order, especially where lengths vary. A damaged bottom rail generally requires removing the boards above it.
- Reassemble to the system’s instructions. Fit the matching board or rail, retain or replace required reinforcement, and restore the specified locks and fasteners. Check both rail ends, board seating and section alignment before removing supports.
The sequence is not universal. Barrette’s closed-top and semi-privacy instructions place boards in the bottom rail before fitting the top rail; its open-picket assembly uses a different sequence. A Cameron bracket-mounted panel instead sits in external brackets secured with screws.
For compatible snap-tab rails, a correctly sized release tool can avoid destructive prying. American Made Fence Hardware’s 1½-by-5½-inch rail remover uses blades on both sides of the rail to unlock the tabs. That is not a universal tool for every clip or rail profile. If the connection will not release, stop and ask the supplier rather than cutting locks off reusable parts.
Patch Only Sound Boards With Isolated Holes
A patch is worth considering when the surrounding board remains sound and the repair does not need to restore a retaining connection or support.
Lowe’s repair guidance identifies vinyl patch kits as an option for small holes and directs users to follow the kit manufacturer’s instructions. Choose a product specifically suitable for your fence material and outdoor exposure. Follow its surface-preparation, application-temperature and curing requirements; there is no single preparation method or cure time for all kits.
Do not count a patch as a structural repair. If the crack reaches a rail connection, the board is breaking apart, or the finish match matters more than saving the part, replacement is the better choice. Avoid improvising with heat, paint or general-purpose filler without approval for the particular fence system.
Correct Post and Gate Support Before Repairing Panels
A leaning post needs more investigation than a broken board. Check whether the vinyl is the structural post or a sleeve over another support, whether reinforcement is present, and whether the footing moves. Post replacement can require dismantling both adjoining sections and removing the concrete base.
Do not automatically pour concrete inside a hollow post. For several of its vinyl fence designs, Bufftech’s installation guide specifies reinforcement for hinge and latch posts, but warns that its concrete-and-rebar filling method can cause post cracking in freeze-thaw climates. Follow the applicable system detail, frost-depth requirements and local rules. Our vinyl fence installation guide explains why post spacing and support must match the actual system.
In the United States, contact 811 before excavating, even around an existing post, and observe your state’s waiting period.
For a dragging gate, inspect post alignment and hinge attachment before adjusting the latch. Moving the latch will not correct an unstable hinge post.
If hiring a contractor, request an itemized scope covering matching parts, adjoining-section disassembly, rail locks or brackets, reinforcement, footing work and disposal. A board replacement and a post-and-footing rebuild are different jobs; a useful quote should make that distinction clear.