
A Tongue and Groove Fence Needs More Than Tight Joints
Compare wood and vinyl tongue and groove fences by privacy, framing, board coverage, terrain fit, repair access and complete project cost.
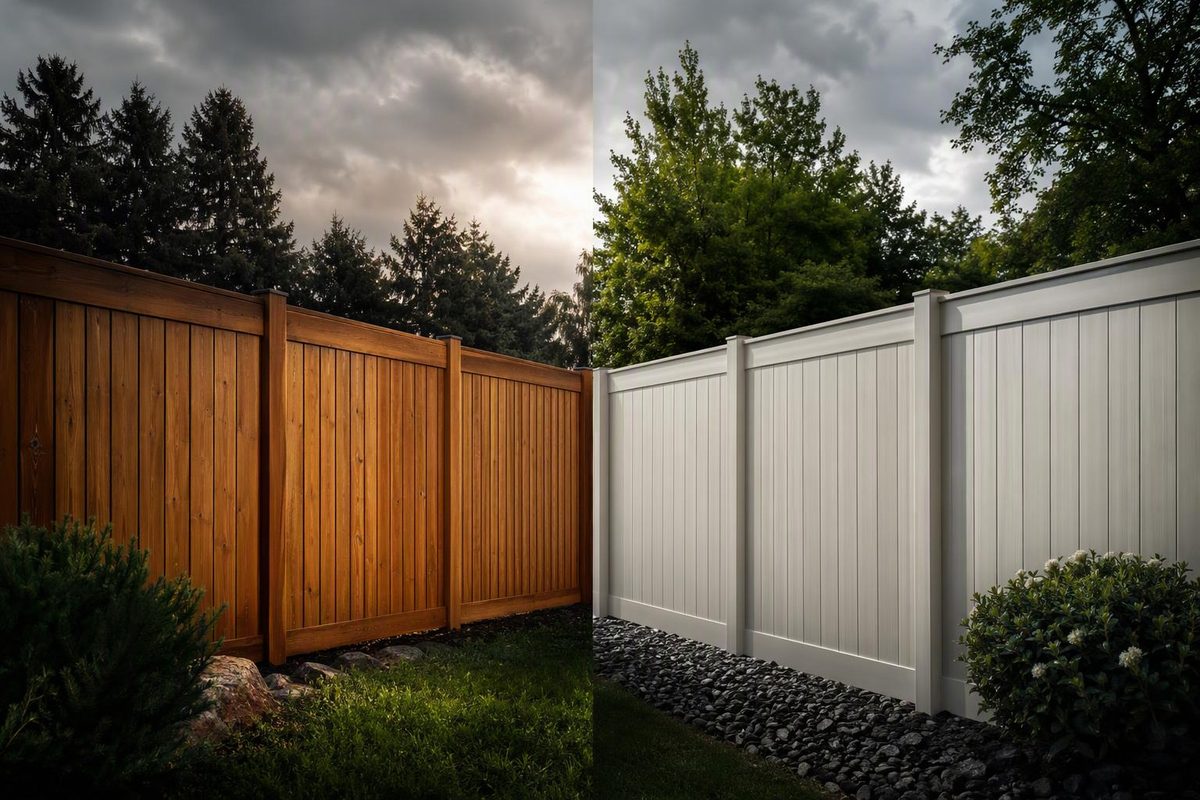
A tongue and groove fence uses boards with a projecting tongue along one edge and a matching groove along the other. The edges interlock rather than simply meet, creating a closed privacy surface. You can see that assembly in Duramax’s vinyl privacy-fence guide.
Tongue and groove describes the joint—not the material, structural strength or wind rating. It is worth considering when you want screening without deliberately spaced boards. Before buying, check the posts, frame, terrain fit and maintenance plan as closely as the interlocking edges.
Start with the posts and the site
Do not choose post spacing or hole depth from the words “tongue and groove.” Ask for installation details for the exact fence height, panel width and site conditions.
Barrette’s privacy-fence installation instructions warn that additional products and assembly may be needed to meet wind-code requirements. They also call for checking local zoning, HOA restrictions and frost-depth rules, and locating underground utilities before digging. A closed panel is not evidence that an existing set of posts can support it.
For a contractor quote, request:
- Post material, dimensions and spacing, with separate gate-post details.
- Footing diameter, depth and any reinforcement required for the site.
- Rail dimensions, connections and any required metal inserts.
- Finished height, bottom clearance and the proposed treatment of slopes.
On uneven ground, have the installer show whether sections will step or follow the slope—and where that leaves gaps underneath. Duramax’s guide says significant slopes require modifications to its posts and panel components. That permission is product-specific; do not assume another panel can be altered the same way.
For broader layout checks, see building a privacy fence.
Wood and vinyl are different purchases
Wood: specify the whole panel
“Cedar tongue and groove” is not a complete specification. Ask for the cedar species, grade, actual board thickness, exposed face width and frame construction. Request a sample or photographs showing acceptable knots and defects rather than relying on a grade label alone.
For example, Grove Cedar’s Style C panel combines listed 1×6 Western Red Cedar tongue-and-groove boards with a 2×4 frame and a pressure-treated 2×6 kick base. Its listed standard heights include 5 feet 9 inches—not an actual 6-foot panel height. Grove Cedar serves British Columbia’s Lower Mainland; this is a specification example, not a nationally available product recommendation. It shows why both the component list and finished dimensions matter.
Wood movement also needs attention. Oregon State University’s shrink/swell estimator uses species, grain orientation, dimensions and changing moisture conditions. An interlocking profile does not eliminate that movement. Ask the supplier how the selected boards should be conditioned, fitted and fastened; do not impose a universal gap or glue every joint without an approved detail.
Plan the appearance and upkeep before assembly. If you want to retain a finished cedar look, include surface preparation, coating and future renewal in the budget. Our cedar fence sealer guide covers finish choices. While awaiting installation, Real Cedar recommends storing lumber off the ground under a rain-shedding cover with air circulation.
Vinyl: buy a matched system
With vinyl, check the model number and its matching rails, routed posts, end channels and reinforcement. Do not substitute components simply because their outside dimensions look similar.
Barrette’s instructions place U-channels on the tongue side of the first board and groove side of the last board, then capture the boards between rails. They also specify different reinforcement arrangements for different panel configurations. Follow the guide supplied for your exact kit, including any cutting and movement-clearance requirements.
Ask for cleaning instructions, warranty exclusions and replacement-part availability. Before ordering either material, ask how a damaged middle board comes out: can it be replaced individually, or must part of the frame or rail assembly be removed?
Calculate coverage—not nominal board width
For a stick-built fence, request the net installed face width after the tongue engages the groove. Use that figure for the board count.
For example, if the required infill width is 96 inches and each fitted board covers 5 inches:
96 ÷ 5 = 19.2, rounded up to 20 boards before waste.
Those are illustrative dimensions; the last board would need trimming to fit. Allow separately for rejected boards and the supplier’s end-fitting detail. The infill width is not necessarily the panel’s overall width or the distance between post centers.
For prefabricated panels, confirm actual panel width, bracket clearance and prescribed post spacing before setting posts. More checks are in buying cedar fence panels.
Compare complete quotes
Keep material, height, frame, gates and site scope identical when comparing prices. A board price omits rails and posts; a panel price may omit mounting hardware, footings and delivery.
Ask quotes to separate panels or boards, structural components, gates, installation, demolition, disposal, finish, permits and delivery. Choose tongue and groove for the closed joint pattern—not as a shortcut around proper support or a promise of maintenance-free privacy.