
Build a Privacy Fence Around the Posts, Not Just the Panels
Plan a wood privacy fence with boundary checks, utility locates, terrain-aware layout, suitable posts, a materials takeoff and practical installation steps.
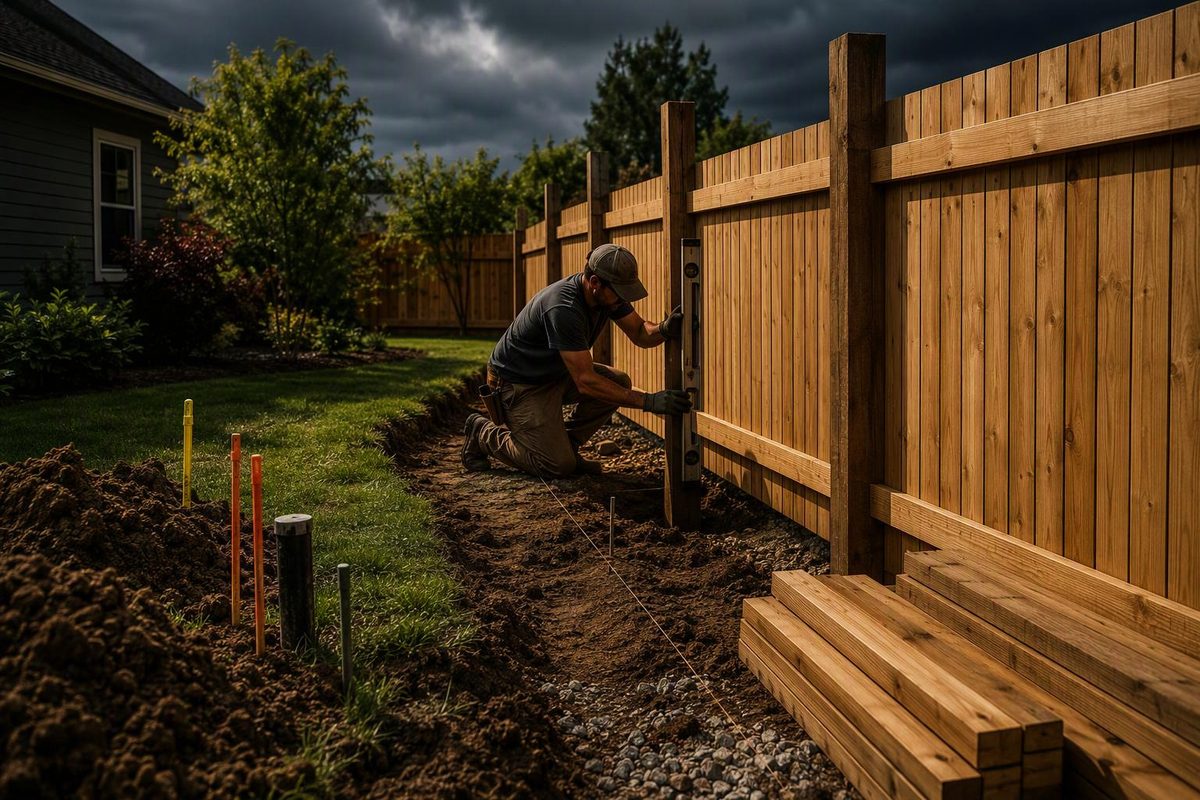
Building a privacy fence starts with three decisions: where it can go, what view it needs to block, and how its posts will be supported. Buying panels first can leave you with the wrong spacing, an awkward gate opening or a fence that does not fit the slope.
This guide covers a vertical-board wood privacy fence, built from loose pickets or preassembled wood panels. Vinyl and aluminum systems need their own installation instructions; do not transfer wood-fence footing or connection details to them.
1. Confirm the boundary, height and digging clearance
Before ordering materials:
- Verify the property boundary. Do not use an old fence as your only evidence. If the line is uncertain, resolve it with a surveyor before laying out posts and footings.
- Ask your permitting authority about allowable height and how it is measured, front-yard restrictions, corner visibility, setbacks, easements and required approvals. Check HOA restrictions separately.
- Discuss the proposed layout with adjoining neighbors, particularly access during construction and which side shows the rails.
Keep the whole installation within its permitted location—not merely the post centers. Master Halco’s installation guidance specifically warns that footings must not cross legally established property lines or setbacks. Our fence permit guide explains which project details to take to the local office.
In the U.S., contact 811 before digging, including fence-post holes. Follow your state’s waiting period, response-verification requirements and safe-digging instructions; do not schedule the auger for the same morning you request a locate. The national 811 guidance identifies fence installation as a project requiring a locate request and links to state-specific instructions.
Do not assume those marks cover everything. Owner-installed irrigation, gas-grill lines and similar private utilities may need a separate locator. Colorado 811 explains this public/private distinction; confirm coverage with your own state service.
2. Choose the screening pattern and terrain method
Check the view from the patio, windows and neighboring ground before settling on height. A fence that blocks a standing person at the boundary may not block an elevated deck.
For screening without intentional openings, compare a solid-board layout with an overlapping design. Wood can shrink, swell and warp as moisture changes, as Outdoor Essentials’ wood-fence guide explains. Boards touching at installation are therefore not a promise of permanent gap-free privacy. Where small openings would defeat the purpose, consider board-and-batten construction rather than relying solely on edge-to-edge boards.
Then decide how the fence will cross slopes:
| Method | What to plan for |
|---|---|
| Stepped sections | Level rails, with each section changing elevation; check the resulting bottom gaps. |
| Slope-following construction | Rails follow the grade while vertical pickets remain plumb; plan angled rail cuts and changing board elevations. |
Outdoor Essentials specifies stepping for the preassembled wood panels covered by its guide, while loose components can follow the slope. Check the exact panel’s instructions before buying; do not assume a rigid panel can rack to match the ground. See our cedar panel buying checks for dimensions and terrain fit.
3. Specify posts and footings before counting panels
A privacy fence needs a defined post-and-footing arrangement, not simply a panel height and a lumber species. Record:
- Post material, cross-section and length.
- Maximum bay spacing for the chosen design.
- Hole diameter, post embedment and footing material.
- Rail-to-post connections.
- Separate support requirements for gates.
For buried pressure-treated wood posts, check the end tag. AWPA’s homeowner guidance identifies UC4A as Ground Contact, General Use, and says ground-contact applications require UC4A or higher. “Pressure-treated” alone does not establish suitability for burial.
Do not turn a rule of thumb into a universal footing design. Outdoor Essentials gives a general embedment rule of one-third of the post’s total length, not one-third of the exposed fence height. Master Halco’s steel-post instructions use different starting dimensions and explicitly say local conditions determine the exact diameter and depth. Neither is a site-specific design for every soil, frost condition or wind exposure.
For an exposed site, unusually tall fence, questionable soil or wide gate, obtain a suitable post-and-footing schedule before buying. Include that schedule in contractor quote requests.
4. Lay out gates first and make a complete materials list
Mark corners, ends and gate posts before filling in line-post positions. Measure actual panels and account for the attachment method: an “8-foot panel” does not automatically mean posts go exactly 8 feet apart. Outdoor Essentials specifically instructs builders to measure panels and gates before locating holes.
For a simple planning example, assume a straight 96-foot run divided into twelve 8-foot bays, with no gates or corners and a three-rail design. Assume each bay needs an 8-foot-wide picket face:
| Item | Starting quantity |
|---|---|
| Posts | 13 |
| Rail pieces, one per bay at each of three levels | 36 |
| Edge-to-edge pickets, assuming an actual 5½-inch width | 216 before rejects, damage or spare boards |
Each bay needs 96 inches ÷ 5.5 inches, rounded up to 18 pickets; twelve bays need 216. This allows a final picket to be ripped narrower in each bay. Overlap, gaps, post coverage and a different actual board width change the count. Confirm screening widths, rail cuts and connections against the final post layout; this example is not a spacing specification.
Price posts, rails, pickets or panels, fasteners, footings, gate hardware, finish, delivery, tax, tool rental and removal separately. A panel-only total is not a project budget.
5. Set posts, then install the screening
Have a tape, string line, level, drill, suitable saw, digging equipment, temporary braces and appropriate protective equipment ready. Then work in this order:
- Establish alignment and finished elevations. Include bottom clearance in the physical height calculation: a 72-inch picket with 2 inches beneath it reaches 74 inches above the ground at that point. Confirm the local code’s height-measurement method separately.
- Dig to the specified footing dimensions. Resolve utility conflicts before proceeding; do not improvise around a marked line with a powered auger.
- Set and brace posts. Check plumb on two adjacent faces and maintain the required gate opening. Where the design uses concrete, follow its placement and curing instructions before loading the posts.
- Install rails or panels with the specified connections. For its wood-fence design, Outdoor Essentials calls for three rails at 6 feet tall and lists hot-dip galvanized fasteners or alternatives required by code.
- Attach pickets and keep checking alignment. Outdoor Essentials specifies at least 2 inches between picket bottoms and the ground. Check clearance across the entire bay, not only beside each post.
- Hang the gate using its hardware instructions. Check its full swing against the slope and confirm that the latch operates without lifting the gate.
The Outdoor Essentials installation guide provides the wood-system details above; use the instructions for your selected products wherever their requirements differ.
Before calling the build finished, inspect every connection, bottom gap and gate movement. Choose a finish compatible with the wood, follow its moisture and preparation requirements, and retain the material specifications so future repairs match the original fence.