
A Horizontal Wood Fence Depends on Span, Support and Board Movement
Plan a horizontal wood fence by privacy layout, board span, post treatment, slope, fasteners and finish before comparing quotes or starting a DIY build.
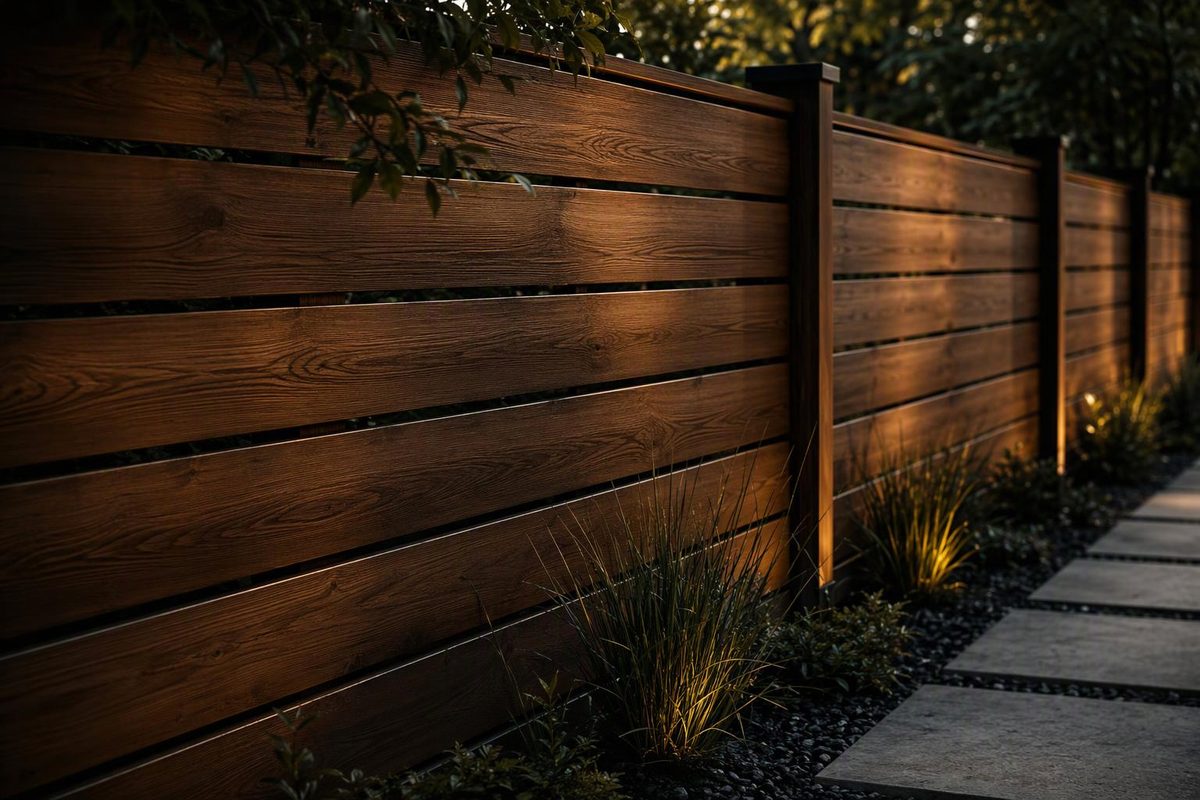
A horizontal wood fence is not simply a conventional fence with the pickets rotated 90 degrees. Its boards span from post to post, so board thickness, span, framing and moisture movement all affect whether the finished face stays aligned.
Plan the fence as a system: posts suited to the height and site exposure, boards that can handle the proposed span, and intermediate framing or battens where needed. Decide the privacy pattern before buying lumber because spaced, edge-to-edge and overlapping boards behave differently as the wood dries.
Choose the board layout by the job
| Layout | Privacy | Airflow | Main trade-off |
|---|---|---|---|
| Spaced horizontal boards | Low to moderate | Highest | Gaps expose the yard and can make the face easier to climb |
| Edge-to-edge boards | High when installed | Low | Drying can create unplanned sightlines |
| Board-on-board or overlapping | High | Moderate to low | More lumber, weight and labor |
| Slatted screen | Partial | Moderate | Primarily decorative rather than secure |
For dependable privacy, do not assume wet boards installed tightly together will remain opaque. Wood exchanges moisture with the surrounding air, and moisture changes produce dimensional change, as explained in the USDA Forest Products Laboratory’s wood-moisture guidance. An overlap, alternating-board pattern or opaque backing can preserve screening after boards shrink; see the options in A Horizontal Privacy Fence Works as a System.
Purpose also changes the design. A decorative front-yard screen can use deliberate openings. A dog enclosure needs gaps and bottom clearance matched to the animal. A pool barrier must satisfy the applicable local rules for such details as height, openings and gates; appearance is secondary.
Treat board span as a specification
Horizontal boards can bow, twist or sag between posts. There is no responsible universal post-spacing number without knowing:
- finished fence height and wind exposure;
- board species, grade, thickness and width;
- whether boards are face-fastened, captured in channels or supported by a frame;
- whether an intermediate batten or structural support is included;
- post material, size, embedment and footing;
- gate loads and changes in grade.
Generic wood-fence instructions often place posts 6 to 8 feet on center, but that range is only a starting point, not approval for every horizontal design. Lowe’s, for example, gives that range for a component-built shadowbox fence and says local codes may control hole requirements (Lowe’s installation guide). Horizontal boards require their own span check.
Before setting posts, assemble or lay out one full bay with the actual boards and fastening method. This can expose fit problems, poor alignment and boards that are already bowed or twisted. It does not prove how the bay will perform after weathering. If a proprietary channel or framing system is being used, follow its stated maximum span rather than adapting a rule from conventional pickets.
Be precise about intermediate support. A floating vertical batten can tie the boards together and help keep their spacing aligned, but it does not replace a post or a structural rail unless the design transfers load to the ground or frame.
Post choice deserves equal attention. Height, soil, frost, wind and gates can all change the required size and embedment; use Fence Post Sizes by Type, Height and Post Role as a planning starting point rather than buying posts from fence height alone.
Specify the wood by exposure, not just species
Cedar, redwood and pressure-treated pine can all be used, but the purchase order should identify more than a species name. Ask for actual dimensions, grade, moisture condition and treatment category where applicable. Thin, low-grade boards with large or loose knots may cost less yet be harder to align across a horizontal run.
The 2024 AWPA U1 standard describes UC3B as exterior, above-ground exposure and includes fence pickets among its examples. For sawn products, UC4A covers ground contact and also certain above-ground uses that are difficult to replace, subject to comparable hazards or less than six inches above grade under the conditions in the standard; sawn fence posts are an example (AWPA U1 excerpt). Check the treatment end tag rather than accepting “pressure treated” as a complete specification.
Keep the lowest board clear of soil, mulch and standing irrigation water. That reduces debris and moisture exposure and leaves room to trim vegetation, but the opening must also suit the fence’s containment job.
Match fasteners and finish to the lumber
Use exterior fasteners and connectors approved for the wood treatment and exposure. Do not pair a durable board with lightly protected hardware that can corrode or stain the face. Fastening design must also accommodate wood movement; the Forest Products Laboratory discusses moisture effects and wood strength parallel and perpendicular to grain in its chapter on fastenings.
For a clean face, use a template so every screw or nail follows the same line. Avoid placing fasteners too close to board ends, and predrill where the species, board dimensions or fastener manufacturer calls for it. If boards terminate in metal channels, verify drainage, movement clearance and the system manufacturer’s fastener schedule.
A finish is not only cosmetic. Outdoor finishes can reduce weathering from moisture and sunlight, while the appropriate product depends on the desired appearance, protection and maintenance schedule, according to the USDA’s wood-finishing chapter. Treat or finish exposed end cuts as directed by the preservative-treatment or finish manufacturer. For pressure-treated boards, choose timing and product by the wood’s actual condition rather than staining automatically at installation; Best Stain for Pressure-Treated Wood by Condition explains that decision.
Plan the line, slope and gates before digging
Start with the legal fence line, not the existing lawn edge. Confirm the boundary, easements, setbacks, allowed height, sight-distance restrictions and HOA rules that apply to the property.
In the United States, contact 811 a few days before excavation. The national service says every digging project requires contact regardless of depth because some utilities are only inches below the surface (811 Before You Dig). A utility locate does not establish a property boundary.
On a slope, choose one method deliberately:
- Stepped bays: Boards remain level while each bay changes elevation. This preserves the horizontal lines but creates steps at the top and bottom.
- Sloped boards: Boards follow the grade. This can reduce triangular openings beneath the fence, but it requires angled cuts and changes the visual effect.
Lay out gate openings at the same stage as posts. A gate is a moving frame, not a few fence boards hung between ordinary line posts. Its posts, frame, hinges, latch clearance and bracing need separate specifications. Horizontal cladding adds weight and can make sag more apparent if the gate frame is inadequate.
What a useful contractor quote should state
Compare identical scopes, not just prices per linear foot. A horizontal wood fence quote should identify:
- finished height and total length;
- board species, grade, actual dimensions and layout;
- post material, dimensions and spacing;
- footing or driven-post method, embedment and treatment category;
- intermediate battens, supports or framing;
- fastener and connector material or coating;
- bottom clearance and slope treatment;
- gate frame, posts and hardware;
- finish, number of coats and treatment of cut ends;
- demolition, disposal, utility-locate responsibility and permit scope.
The key purchasing question is not “How much is a horizontal fence?” It is “What keeps these particular boards aligned, private and attached across this span?” If the quote does not answer that, it has priced the appearance without fully specifying the fence.