
Choose a Chain-Link Fence Stretcher by the Job, Not the Name
Compare stretcher bars, come-alongs and short-stretch tools, then learn how to tension chain-link fabric without distorting mesh or moving posts.
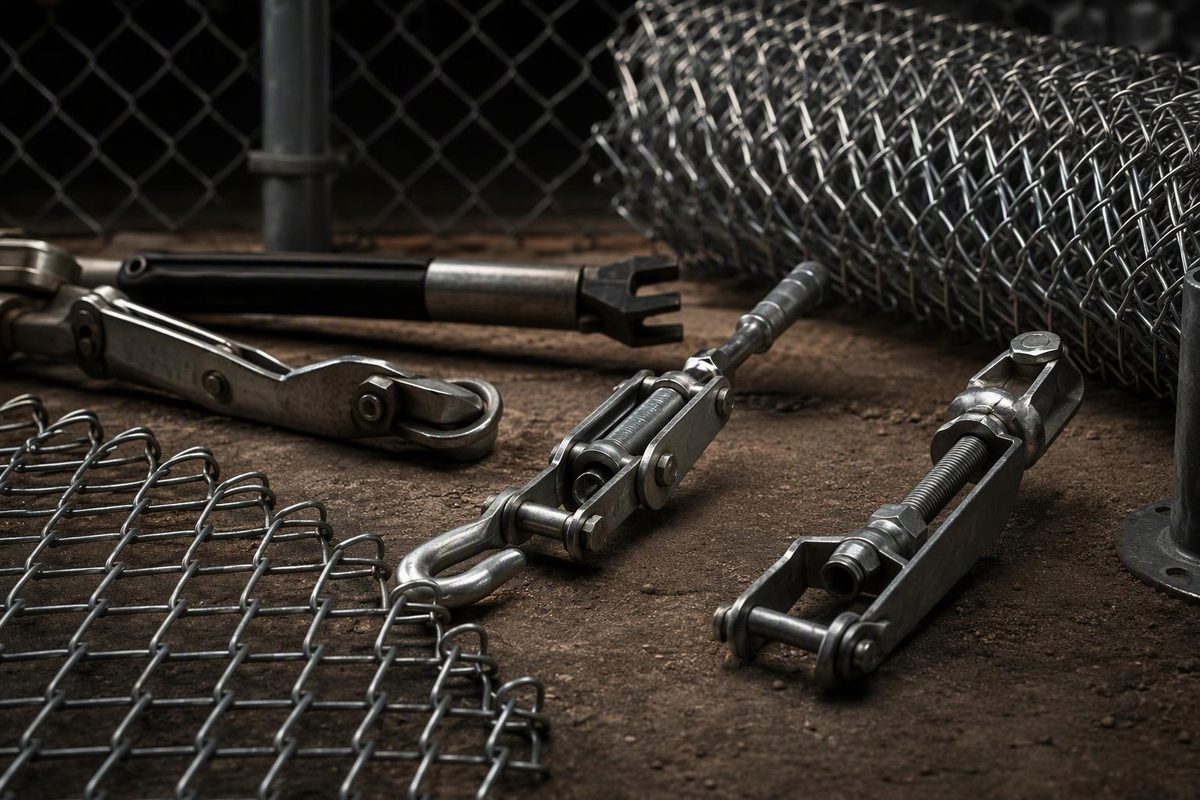
For a typical residential fence run, start with a chain-link stretcher bar, a come-along cable puller and a temporary tension bar woven through the mesh. The stretcher bar distributes the pull; the come-along supplies leverage and holds tension while you fasten the end. A short hand-stretch tool serves a different job: closing the final gap on a short section or gate panel. Hoover Fence’s installation manual distinguishes come-along setups for longer runs from post-mounted pullers for shorter stretches.
The buying mistake is assuming that anything labeled “fence stretcher” includes everything needed to pull and hold the fabric.
Know which part you are buying
| Part or tool | What it does | What to check |
|---|---|---|
| Tension bar | Weaves vertically through the mesh; permanent end bars connect to terminal posts through tension bands | Match the fence fabric and height; have a separate temporary bar for pulling |
| Stretcher or spreader bar | Hooks onto the temporary tension bar at several points to distribute force | Confirm the intended hookup, dimensions and compatibility with your puller |
| Come-along | Ratchets the fabric toward an anchor and holds the pull | Rated capacity, usable pulling travel, attachment hardware and controlled release |
| Short-stretch lever | Draws a nearby tension bar toward a post or gate frame | Actual pipe outside diameter and suitability for the wire gauge |
| Post-mounted puller | Pulls and holds short sections in small increments | Post fit, reach, capacity and model-specific attachment method |
The distinction between the two bars matters. A permanent tension bar stays in the fence; the hooked stretcher tool comes off. Home Depot’s installation guide shows a temporary tension bar and stretcher tool holding the pull while another tension bar is installed at the terminal post.
Choose by run length, fabric and post fit
For a full fence run: a spreader bar and come-along are the practical starting point. Hoover uses approximately 20 feet as its dividing point between longer-run come-along work and shorter-run PulJak work. Treat that as its installation guidance, not a universal tool limit: working space and fabric stiffness also affect the setup.
For a gate, kennel panel or short, light-fabric section: a hand lever may be enough. Hoover’s short-stretch tool listing offers different pipe-fit sizes and specifically advises against using that tool on heavy-gauge chain link. Measure the pipe rather than ordering from a nominal size alone.
For repeated short-run work: a post-mounted puller can hold the fabric while you install hardware. For example, the PulJak Type B is listed with a 1,000-pound capacity, a workhead fitting posts up to 3½ inches in diameter, and 30- or 48-inch rod options. Those are that model’s specifications—not permission to apply its full capacity to a fence. Its studs hook into the fabric with a tension bar in place; it does not use the same hookup as a come-along and spreader bar.
Compare complete setups rather than bar prices. On October 4, 2026, Tractor Supply listed the 36-inch, three-hook Yardlink stretcher bar at $44.99. Its instructions call for a tension bar and cable come-along, so that price is not a complete stretching kit. Add the puller, rated anchor connections and temporary tension bar before comparing buying with a local rental quote.
How to stretch the fabric
This sequence assumes a conventional top-rail fence between sound terminal posts. Complete the framework first and wait until the concrete footings can accept loading according to the concrete product’s instructions. QUIKRETE’s post-setting guide, for example, distinguishes initial setting from the wait before applying weight. A stronger puller cannot compensate for weak posts or footings.
- Secure the starting end. Weave the permanent tension bar through the end diamonds and bolt it to the terminal post with tension bands. For hardware selection, see tension-band sizing and installation.
- Unroll and position the fabric. Join rolls as necessary and bring the mesh toward the next terminal post. Leave it able to move during tensioning; permanent rail and line-post ties come afterward.
- Install the temporary pulling bar. Home Depot’s method places it about 3 feet short of the finishing post. Hook the stretcher bar onto it and connect the come-along to an anchor capable of withstanding the pull, using the puller’s specified attachment method. Leave room to install the permanent end bar.
- Pull slowly and straighten as you go. Watch for mesh snagging on posts, roots or other obstructions. Lift low spots and align the diamonds before the fabric becomes tight. If the mesh binds or distorts, ease the pull and correct it rather than cranking harder.
- Make the permanent end connection while the puller holds tension. Hand-stretch the short section between the temporary bar and finishing post. Adjust the fabric height, remove excess length by unweaving a strand, insert the final tension bar and fasten all tension bands. Only then release tension in a controlled manner and remove the stretching tools.
- Finish the attachments. Tie the fabric to the top rail and line posts, and secure it to bottom tension wire where specified. Hog-ring selection and installation covers that bottom connection.
These steps follow the Home Depot guide and Hoover’s stretching instructions.
Stop before tension becomes damage
The goal is uniform, taut fabric—not maximum puller force. Hoover warns that over-stretching can damage posts and recommends checking that the top of the fabric snaps back toward the posts when pulled outward slightly. Stop if a terminal post moves or the diamonds distort.
Follow your puller’s manual, including its protective-equipment requirements. Inspect the cable and hooks, keep the pull aligned, use rated attachment hardware, keep people clear of the loaded setup, and never add a handle extension or wrap the puller’s cable around the post. The cable-winch safety instructions also require securing the load before releasing cable tension. On a fence, that means completing the end connection—not asking a helper to hold the mesh while you unhook the puller.