
Chain-Link Fence Installation: From Layout to Final Inspection
Plan chain-link fence installation around gate openings, post spacing, footings and fabric tension, with DIY steps and contractor quote checks.
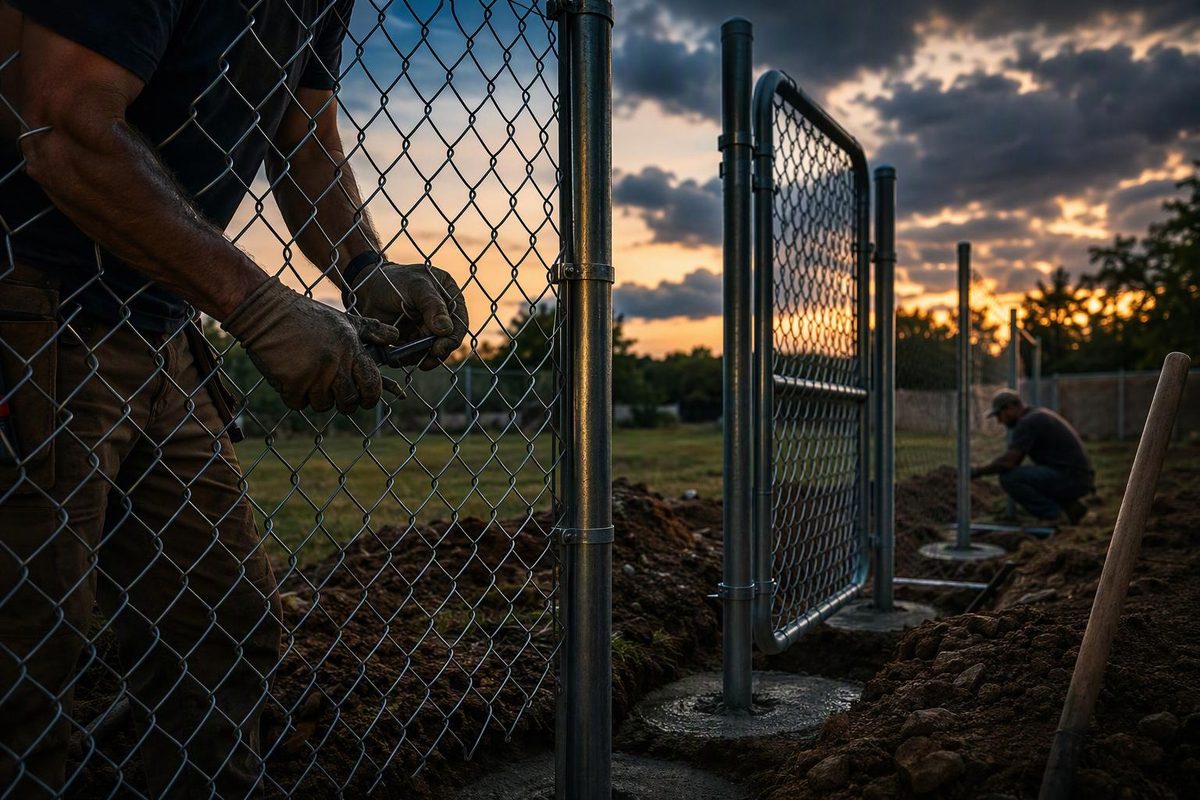
A sound chain-link fence starts with the gate openings and posts—not the roll of mesh. Establish the fence line, size the framework and footings for the site, let the concrete develop sufficient strength, then stretch and fasten the fabric.
This guide covers a conventional residential fence with top rail and concrete-set posts. Driven-post systems, steep slopes, large driveway gates and fences carrying privacy screening need a plan suited to those conditions.
1. Confirm the line and clear the digging area
Before buying materials, check with your local building or planning department about permits, height limits, setbacks, corner visibility and any pool-barrier requirements. Review deed or HOA restrictions separately. If the boundary is uncertain, resolve it with a survey rather than following an old fence. Hoover Fence’s installation manual identifies permits, restrictions and boundary verification as pre-installation checks.
For a U.S. project, contact 811 before digging, including small hand-dug holes. Follow your state center’s notice period, response-checking procedure and rules for working near marks; submitting a request does not mean you can immediately excavate. The national 811 campaign calls for contacting the service a few days before every digging project.
Ask about private utilities too. Irrigation lines, power to an outbuilding or privately owned gas lines may need a separate locate. Colorado 811’s homeowner guidance explains that public utility owners mark the lines they own, not private facilities.
2. Lay out gates first, then divide each fence run
Mark the terminal posts: ends, corners and gate posts. Use stakes outside the hole locations and a taut string to establish each straight run.
Set gate openings to the supplier’s specified inside-to-inside post dimension. A gate’s advertised size is not necessarily its frame width; the opening must accommodate hinges and latch hardware. Check the ground through the entire swing path before committing to the location. Hoover’s manual specifically requires the supplier’s or manufacturer’s opening dimension.
For conventional chain link, the same manual specifies line-post spacing of no more than 10 feet, with closer spacing and stronger framework considered for privacy slats or screens. Treat 10 feet as a layout limit for that system, not proof that any post will support any fence.
Calculate line posts by run, not total perimeter. For example, a 47-foot center-to-center run between two terminal posts, using a 10-foot maximum spacing, needs:
- Five bays: 47 ÷ 10, rounded up.
- Four intermediate line posts.
- Approximately 9 feet 5 inches between post centers.
Repeat the calculation between each pair of terminal posts. Gate openings interrupt the fabric runs.
On gradual slopes, plan the rail and fabric to follow the grade while keeping posts plumb. A sharp incline approaching a terminal post can require a bias-cut fabric end; work out the slope detail before setting posts. Hoover’s guide covers following ground contours and bias cuts.
3. Buy a complete system and gather tools
Write down fabric height, wire gauge, mesh size and coating, plus post and rail outside diameters, wall thicknesses and finishes. Match fittings to those dimensions. See our chain-link specifications guide for the purchasing checks.
Your materials list should include:
- Terminal and line posts, with terminal caps and line-post loop caps.
- Top rail, joining sleeves where required, rail ends and brace bands.
- Fabric, tension bars, tension bands, bolts and fence ties.
- Bottom tension wire or bottom rail and its attachments, if specified.
- Terminal bracing components where the design requires them.
- Gates, hinges, latches and any stops or drop rods.
- Concrete calculated from the planned hole dimensions and the mix’s stated yield.
Gather a tape, stakes, string, level, post-hole digging equipment, concrete-mixing equipment, wrenches, fence pliers and a suitable rail-cutting tool. Fabric tensioning requires a fence stretcher or spreader bar and compatible pulling equipment—not a hook pulling on one mesh diamond. The Merchants Metals DIY guide lists the basic components and tools and illustrates pulling through a tension bar.
4. Set posts to the specified footing and height
Do not choose every hole’s depth from one internet rule. Confirm footing diameter and embedment against fence height, soil, frost conditions, wind exposure and gate loads. Hoover’s manual notes that hole dimensions vary with location, height and materials, and that gate-post holes are typically larger and deeper to withstand a moving gate.
Set terminal posts first. Mark their intended ground line according to the system’s instructions, center them in the footings and check plumb in two directions. Account for the intended clearance below the fabric when setting these marks. Mix concrete using its manufacturer’s water quantity and crown exposed footing tops so water drains away from the posts, as the Merchants Metals guide directs.
Once the terminal footings have hardened sufficiently, use a guide string to align the line posts. Their tops normally sit lower than terminal-post tops because the loop caps carry the rail. Use the system’s height marks rather than setting every post top level with the terminals.
Do not stretch fabric against fresh footings. Follow the concrete product’s loading and curing guidance, allowing for temperature and conditions. Setting time alone is not a guarantee that a footing is ready for fence tension: QUIKRETE’s Fast-Setting Concrete Mix data sheet, for example, distinguishes final set from the wait before applying strain to a post. Follow the product’s protective-equipment instructions too; wet concrete can burn skin and damage eyes.
5. Fit the bands, caps, rail and bottom wire
Install terminal-post bands before closing the tops with caps. Tension bands secure the fabric’s vertical tension bar; brace bands carry rail-end fittings or tension-wire connections.
For its residential arrangement, Merchants Metals estimates one fewer tension band than fence height in feet per tension bar—three for 4-foot fabric, for example. A corner has two fabric connections, so count each side separately. Confirm the actual system’s requirements and tension-band sizing.
Slide top rail through the loop caps and seat it in the terminal rail ends. Swaged rail joins by inserting its reduced end into the next piece; plain-ended rail needs compatible sleeves. Measure the final piece only after seating the preceding joints. These assembly details appear in Hoover’s manual.
If using bottom tension wire, install it before the fabric. Wear gloves and eye protection and keep the coil controlled. Stretch crimped wire taut without pulling its natural crimps straight, as American Fence Company’s instructions advise. Secure the wire to the line posts as directed by the system.
6. Stretch one terminal-to-terminal run at a time
Unroll the fabric along the chosen side of the framework. Join compatible rolls by removing a spiral wire and weaving it through the adjoining edges; reclose the wire ends afterward.
Insert a tension bar through the first fabric edge and bolt it to the terminal-post bands. Near the opposite end, insert a temporary tension bar and connect the stretcher to distribute the pull vertically. Follow the tool’s load limits and setup instructions; keep people out of the line of pull.
Tighten gradually while clearing snags and aligning the diamonds. The mesh should be taut, not distorted. Merchants Metals describes sufficient tension as fabric that still gives slightly. If a post moves or leans, stop rather than pulling harder. Our fence-stretcher guide covers tool selection and setup.
Remove excess fabric by unweaving a spiral, insert the final tension bar and fasten all terminal bands before releasing the stretcher. Then tie the fabric to the framework. The Merchants Metals instructions specify approximately 12-inch tie spacing on line posts and 24-inch spacing on top rail. Attach fabric to bottom wire with compatible hog rings at the system’s specified spacing.
7. Hang gates and inspect the finished fence
Hang gates using their hardware instructions, then adjust hinges and latches so each gate swings freely and closes without being lifted. Inspect the full fence for:
- Plumb posts and fully seated rail joints.
- Secure terminal connections and no loose fabric sections.
- Bottom gaps that meet the intended containment job.
- Closed wire ends and no exposed sharp tie tails.
- Gate clearance throughout the swing, not just when closed.
If hiring an installer, request these same details in writing: framework sizes and wall thicknesses, fabric specifications, maximum post spacing, footing dimensions, terminal bracing, gate openings, bottom treatment and responsibility for permits and utility locating. ASTM F567-23 is the installation practice covering posts, bracing, rails, wire, fabric and gates; ask whether the proposed work follows it and have any departures explained. A price per foot without that scope is not enough to compare bids.