
A Sound Gate Hinge Weld Starts With Alignment, Not Bead Size
How to position, tack, test and finish weld-on gate hinges without binding the pivot, warping the frame or leaving bare steel exposed.
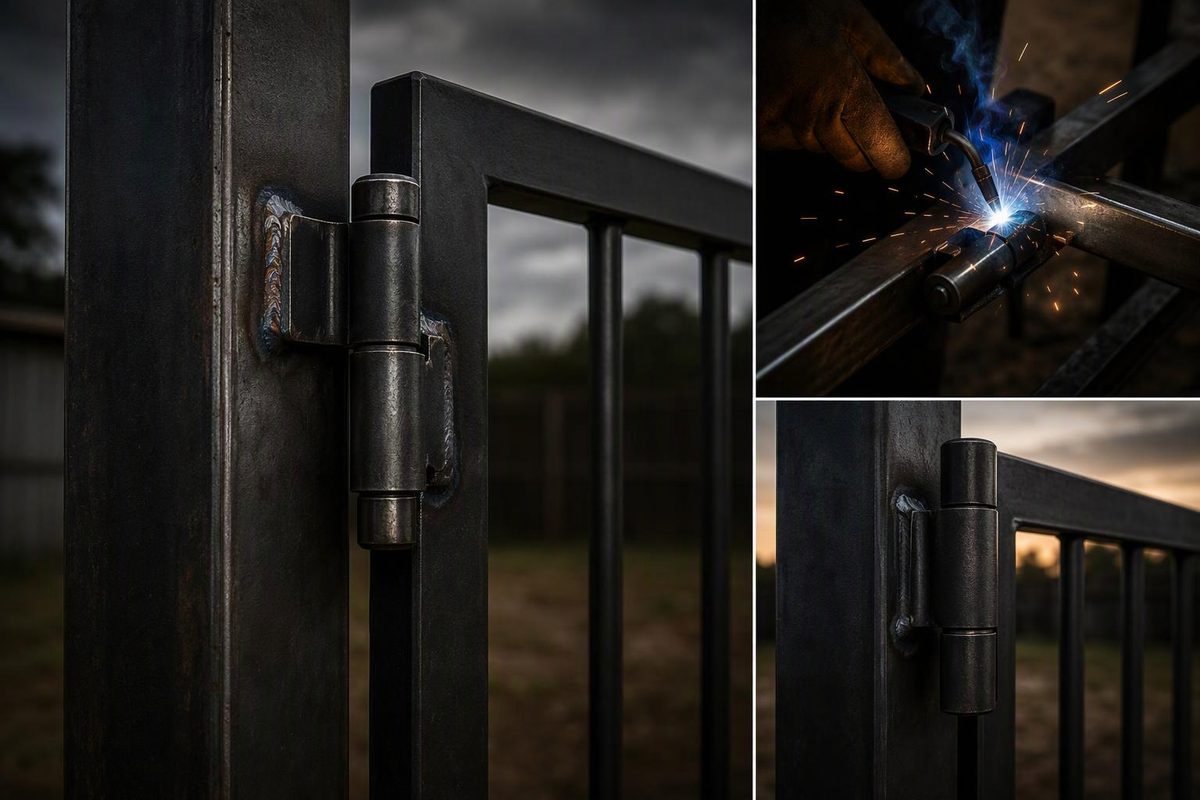
A successful gate hinge weld holds the load without pulling the hinge pins out of line. The practical sequence is to support the gate in its final position, align both pivots on one axis, tack the hinge parts, test the complete swing and only then make the specified final welds.
There is no universal bead size or weld pattern for every gate. Hinge design, gate and post material, wall thickness, load and manufacturer instructions all matter. Some hinges permit welds only in designated areas; heat-sensitive hinge/closer assemblies may need to be removed from their mounting brackets before welding.
Check the hinge and gate before welding
Confirm these points first:
- The hinge is made for welding. Do not assume a plated, bolt-on or self-closing hinge can tolerate welding heat.
- Materials are compatible. Mild steel, stainless steel and aluminum require different preparation, filler and welding practices. A steel hinge should not simply be substituted on an aluminum gate.
- The capacity is adequate. Use the exact manufacturer’s rating and stated conditions, not barrel length alone. For perspective, one 3-inch weld-on barrel hinge is advertised at 220 pounds and sold individually, but that listing does not establish the capacity of another hinge or the completed gate assembly (Hoover Fence). Gate width, solid infill, wind exposure, use frequency and automation also belong in the selection decision.
- The support is sound. A strong hinge cannot compensate for a flexible gate upright, undersized post, cracked connection, loose footing or out-of-square gate frame.
- The geometry works. Establish the closed gap, hinge offset, opening direction and clearance throughout the swing. Our fence gate hinge selection guide covers the measurements to take before choosing hardware.
For a long or heavy gate, an adjustable bearing hinge can provide useful correction after installation. Adjustment is not a remedy for a leaning post or severely misaligned hinge axis.
A practical welding sequence
1. Brace the post and square the gate
Verify that the post is plumb and adequately supported. Check the gate frame for square before using the latch side as a reference. If the frame is already racked, welding the hinges in place will preserve that error.
Set the gate on rigid blocks or stands at its intended finished height. Shim the hinge and latch gaps, then clamp the assembly so it cannot settle while being tacked. Do not rely on a person to hold a heavy gate.
2. Put both hinge pins on one axis
Mark the top and bottom hinge positions. Use a straightedge, taut line or another suitable reference through the pivot centers to place both pins on the same line. Check from more than one direction.
A gate can look level while its hinge pins are offset or tilted relative to each other. That error causes binding, uneven wear and movement of the frame as the gate swings.
3. Orient the hinge halves correctly
Follow the drawing for the exact hinge. One common bullet-hinge arrangement places the pin-bearing male half on the stationary frame and the female half on the moving gate. Some lift-off installations put the female barrel above the supporting male barrel; where the manufacturer permits it, reversing the top hinge can prevent the gate from being lifted off (Essentra Components).
That is not a rule for every design. Guardian’s instructions, for example, specify the yoke on the gate, the channel on the post and both pins in a straight line (Guardian installation manual). Grease fittings, adjustment screws and removable pins should remain accessible after installation.
4. Identify coatings, then prepare the weld areas
Expose clean, sound base metal only where the approved welds will go. Remove rust, oil and coatings that would contaminate the joint or produce hazardous fumes—but identify the coating before disturbing it. Paint may contain hazardous ingredients, while galvanized steel introduces zinc into the work area.
Welding presents fume, ultraviolet-radiation, burn, electrical-shock and crush hazards. Acute exposure to welding fume can cause irritation, dizziness and nausea. OSHA advises cleaning potentially hazardous coatings, keeping the breathing zone out of the plume and using suitable ventilation or local exhaust; working outdoors alone does not guarantee adequate ventilation (OSHA welding-fume guidance). Use suitable welding PPE, control fire hazards around the fence line and keep the gate mechanically supported.
For galvanized parts, the American Galvanizers Association says zinc should be removed from the weld area and the damaged protection restored after welding in accordance with ASTM A780 (AGA). Galvanized steel should not be approached as ordinary bare-steel welding without appropriate fume controls.
5. Tack and test before final welding
Tack both hinge assemblies while the gate remains fully supported. Use enough balanced tacks to hold the geometry, but do not complete the weld yet. Essentra’s bullet-hinge procedure likewise uses tacks to establish the hinge position before final welding.
Once the tacks are secure, remove only the supports necessary to test movement safely. Move the gate slowly through its entire intended arc and check:
- consistent hinge- and latch-side gaps;
- no tight spot, springing or frame movement;
- required ground and post clearance;
- correct latch alignment; and
- enough clearance for a closer, stop or operator arm.
If the gate binds, cut the tacks and correct the axis. A larger final weld will not repair bad hinge geometry.
6. Make only the specified final welds
Return the gate to its supported position. Use the hinge maker’s permitted weld locations and a welding process, filler and settings appropriate to the metals and thicknesses.
This detail is product-specific. Guardian directs installers to weld only the vertical portions of its yoke and plate—not the top and bottom. Instructions for D&D’s SureClose mounting system instead say to remove the hinge from its brackets before welding, control heat transfer and avoid overheating the product (SureClose instructions). These differences are why copying a generic all-around weld pattern can damage a bearing, seal or closer.
Keep the gate supported while the work cools. Do not load or operate a hot, partly completed joint.
Finish and inspect the installation
Remove spatter where it could obstruct movement, then inspect the hinge mounts and surrounding thin-wall tube for cracks, undercut, distortion or burn-through. Test the gate again at partial and full opening. A powered or self-closing gate also needs its stop, closer, latch and safety system tested under the applicable instructions.
Restore corrosion protection to every ground and heat-affected area. Keep paint, zinc repair material and powder coating out of bearings, threads, grease fittings and adjustment ports. Lubricate only as directed: Guardian specifies one pump of multipurpose grease every three months under normal conditions for its greasable model, with more frequent service in severe conditions and no over-lubrication.
A gate that drops after the supports come out does not automatically need more weld. Recheck the post, frame rigidity, hinge-axis alignment and hinge adjustment first. If the gate is unusually wide or heavy, uses thin tubing, is automated, or protects a pool or public opening, have the hinge selection and welding plan handled or reviewed by a qualified gate fabricator or welder.