
A Gate Spring Latch Does Not Necessarily Close the Gate
Identify the mechanism, measure the closed gap and mounting faces, fix gate movement, then align and test the latch through the full closing cycle.
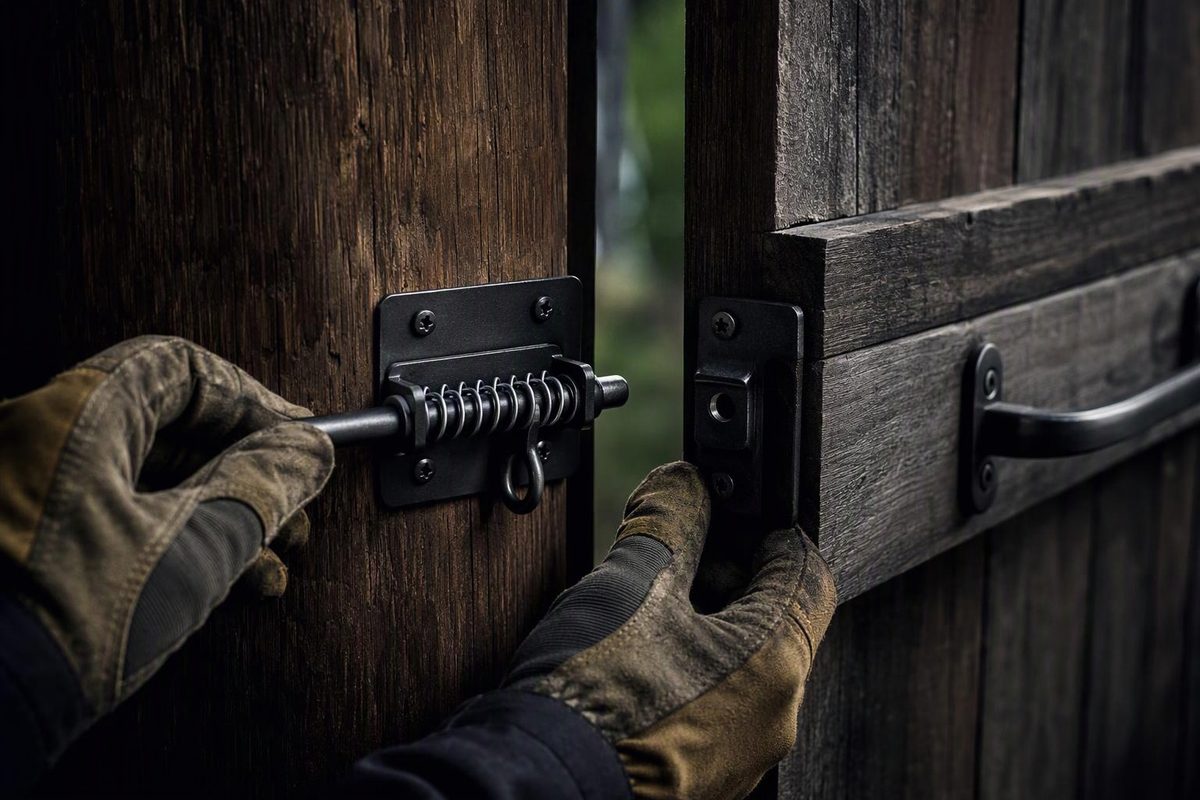
A gate spring latch normally uses spring force to return or hold its latching arm. That does not necessarily mean it will pull an open gate shut. If the gate must close by itself, plan for two functions:
- A gate closer or gate spring moves the gate toward the closed position.
- A self-latching latch captures the striker when the gate reaches it.
The distinction is visible in manufacturers’ hardware and instructions: automatic latches appear in latch catalogs, while a 10-inch adjustable gate spring mounts between the post and gate and is tensioned after installation (National Hardware latch catalog; Barrette gate-spring instructions). A gate that must self-close generally needs both functions unless one tested assembly provides both.
Identify the mechanism before buying
The name can refer to different hardware:
- Spring-return automatic latch: The striker moves a pivoting latch arm, which springs back to retain it. This can latch automatically, but it does not supply the force needed to close an open gate.
- Long field-gate spring latch: A flexible steel bar engages a catch on a substantial wood post. One current behind-post model is 24 inches tall, fits a 3-inch-thick wood gate and requires at least a 6-by-6-inch square post. Those dimensions make it unsuitable for a typical light garden gate (Snug Cottage product specifications).
- Gate spring: This is a closer rather than a latch. Pair it with a compatible automatic latch when self-closing and self-latching operation is required.
Do not choose by the product title alone. Use the diagram and installation instructions to confirm whether the hardware catches the gate when it arrives, must be operated by hand, or supplies closing force.
Measure the closed gate and mounting faces
Take measurements with the gate hanging, aligned and fully closed:
- Closed gap: Measure between the latch-side gate upright and post at the intended hardware height. There is no universal gap. One heavy-duty self-latching model specifies a 3/4- to 1-1/4-inch gap, ideally 1 inch (Barrette heavy-duty latch instructions). A cable-latch model from the same manufacturer allows 1-1/2 to 4 inches and requires a post at least 2 inches wide and a gate upright at least 3 inches wide (Barrette cable-latch instructions). These are model-specific dimensions, not general rules.
- Post and gate-upright dimensions: Confirm that the latch and striker fit on sound, flat mounting areas, with room for every specified fastener.
- Offset and overlap: A field gate hung behind its posts has different geometry from a gate centered in an opening. Snug Cottage’s behind-post instructions call for even overlap: a gate 1 inch wider than the opening with 6-by-6 posts or 2 inches wider with 8-by-8 posts (behind-post latch instructions).
- Opening direction and access: Check whether the exact latch is handed, reversible or operable from both sides. If access from either side is important, compare two-way gate latch types.
- Gate and post material: Use hardware and reinforcement approved for the gate system. For example, Barrette’s heavy-duty latch instructions require an internal wood insert or post stiffener in a vinyl gate post.
For double gates, the inactive leaf usually needs to be restrained before the active leaf can latch against it. A drop rod or cane bolt may provide that fixed meeting point; see gate latches for double gates.
Correct sag and post movement first
A latch cannot reliably compensate for loose hinges, a leaning post or a racked gate. Lift the latch-side corner by hand and watch the hinges, fasteners and post. Repair visible movement before positioning the latch. The gate should return to the same closed position repeatedly.
Then follow the exact model instructions. A sound general sequence is:
- Close and support the gate at its normal operating height.
- Hold the latch and striker in working alignment. Mark all mounting holes.
- Drill the specified pilot holes. Pilot diameter and depth depend on the supplied fasteners and mounting material.
- Fasten into the required structural material. Do not assume a hollow vinyl or thin-metal skin can carry the latch without the insert or mounting arrangement specified by the gate or hardware manufacturer.
- Set the striker for full engagement. It should move the latch far enough to pass and then be retained when the spring returns. Do not make it drag heavily across the latch to disguise gate sag.
- Install and adjust the closer separately, if needed. Follow its tension limit rather than tightening until the gate slams. Barrette’s 10-inch spring instructions, for example, specify a maximum adjustment of three increments.
The exact sequence can differ. On the cited Barrette heavy-duty latch, the latch mounts first and the striker is held in the installed latch against the closed gate to mark its pilot holes. The Snug Cottage field latch instead has its own bar, keep and staple-catch geometry. Do not transfer dimensions or steps from one design to another.
Test closing, latching and release
Open the gate a few inches, halfway and fully, then let it close without a push. Also test a slow closure. Each time, confirm that:
- the gate reaches its stop;
- the striker fully engages;
- pulling the gate does not release the latch; and
- the release works from every intended side without binding.
Repeat after several cycles. Closing, latching and locking are separate functions; self-latching gate hardware explains the distinction in more detail.
For a pool barrier, do not presume ordinary yard-gate hardware is acceptable. The U.S. Consumer Product Safety Commission recommends that pedestrian gates open away from the pool and be both self-closing and self-latching. Its booklet also says these guidelines are not a mandatory CPSC standard and directs owners to check state and local requirements (CPSC residential pool-barrier guidelines). Verify the required latch position, opening direction and test procedure with the local code authority.
Recheck any spring latch periodically and after frost movement, storms or hinge adjustment. Tighten loose fasteners as the manufacturer permits, clear debris, treat corrosion according to the finish guidance and realign the striker if the gate’s closed position has changed.