
How to Install Fences Without Locking In Layout Mistakes
Plan a fence installation around boundaries, utility locates, gates, slopes and system-specific post spacing, with DIY and contractor quote checks.
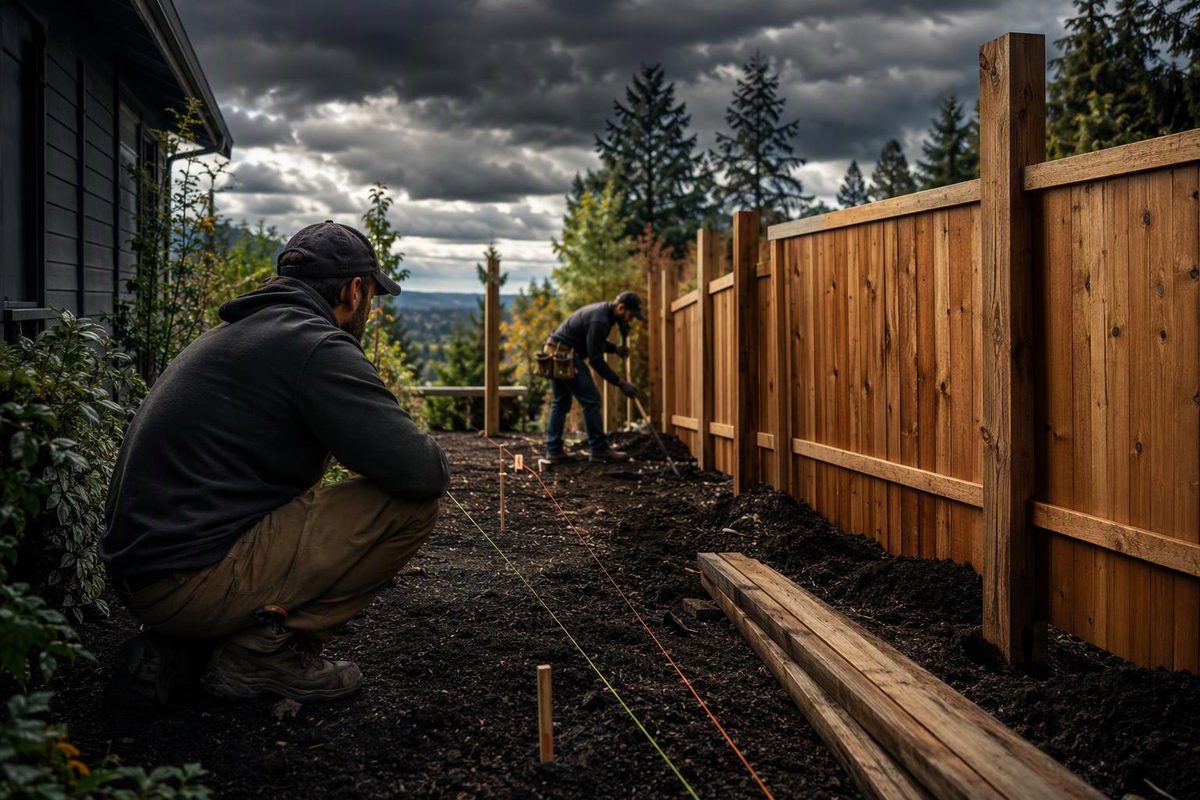
To install a fence, confirm where it can go, locate buried utilities, plan gates and grade changes, then set posts and attach the fence using the selected system’s instructions. Do not dig every hole based on a nominal panel width. Actual panel dimensions, connections and gate hardware determine the layout.
This guide covers planning and assembly checks for conventional residential wood, vinyl, aluminum and chain-link fences in the United States. Use it alongside the exact product’s installation manual. Pool barriers, automated gates and livestock fencing need additional, purpose-specific planning.
1. Define the job and confirm the boundary
Write down what the fence must accomplish before choosing its construction:
- Privacy: Specify the screening you want, including views through gaps and over the fence from higher ground.
- Containment: Decide the acceptable openings between pickets, beneath the fence and around gates for the animal being contained.
- Boundary or appearance: Decide whether an open fence will do the job without a solid screen.
- Access: Measure the widest mower, trailer or other equipment that must pass through.
Confirm the property boundary rather than assuming an existing fence marks it. If the line is uncertain, arrange a survey before construction. Discuss the proposed layout with adjacent owners, but do not treat their agreement as a substitute for boundary evidence. Seattle’s property-line guidance, for example, notes that a survey and legal advice may be needed to resolve a boundary dispute; the city does not resolve private disputes between neighbors.
Check your local planning and building departments for height, placement, sightline and permit requirements. Also review applicable HOA restrictions and recorded easements.
Permit exemption does not mean unrestricted placement or height. As of October 2026, Seattle’s fence guidance exempts many fences up to 8 feet from a construction permit, yet its neighborhood residential and multifamily zoning generally limits fences to 6 feet, with architectural-feature allowances and lower limits in front or street-side setbacks. These are Seattle rules, not national limits.
2. Complete utility locates before breaking ground
Contact 811 before digging post holes and use your state’s required notice period. The national safe-digging guidance calls for contacting 811 a few days before every digging project, including shallow work. Include driving layout stakes or posts in this planning: Colorado 811 explicitly lists driving landscaping stakes among projects requiring advance notification.
Do not assume the arrival of some paint or flags means the locate is complete. Check the ticket responses and follow your state’s rules for unresolved responses, safe excavation near marks and ticket renewal.
Arrange separate locating for private lines where needed. These can include sprinkler piping, landscape lighting, septic lines and electrical feeds to detached structures. Indiana 811’s homeowner guidance identifies these as the owner’s responsibility and requires checking utility responses before starting work. Your own state’s procedure controls your project.
If a planned hole conflicts with a utility, stop and resolve the layout rather than simply drilling beside the mark.
3. Lay out gates and slopes before line posts
Prepare a sketch showing each run’s length, corners, end posts, gate openings and grade changes. Locate gate openings early: they interrupt panel spacing and need room for hardware and movement.
For each gate, establish:
- Required clear passage width—not just the gate’s advertised size.
- The manufacturer’s post-to-post opening and hardware allowances.
- Swing direction and clearance throughout the swing.
- Hinge-post support, latch position and any receiver hardware.
A gate that clears the ground while closed may hit rising ground as it opens. Check the entire swing area before setting its posts.
On slopes, choose between a stepped fence, whose sections remain level, and a racked or slope-following fence, whose rails follow the grade. Verify that your particular panel supports the proposed method and slope. Outdoor Essentials’ wood-fence instructions specify stepping for the preassembled panels covered by that guide and allow slope-following construction with loose components. That is a product-specific distinction, not a rule for every panel sold.
For containment, check the resulting bottom gaps before ordering. A stepped layout can leave openings that require a separate solution.
4. Determine spacing and footing requirements
Measure the actual components and identify how they connect: face-mounted rails, brackets and routed-post systems do not use interchangeable spacing assumptions. Dry-fit a representative section when the instructions allow it.
Do not assume every system calls for setting all posts first. For example, a 2014 Barrette vinyl assembly manual explicitly requires a post-panel-post sequence rather than pre-digging every hole. Obtain the current manual for the exact model you buy.
Specify post size, embedment, hole diameter, backfill and reinforcement for the fence height, local frost conditions, soil, exposure and post role. Gate and terminal posts may need different support from ordinary line posts. Hoover Fence’s chain-link manual confirms that hole requirements vary with location, height and material, and that gate holes are typically larger and deeper.
Privacy additions also affect support. In that manual, Hoover recommends considering closer spacing and heavier framework when adding slats or screening to chain link because they increase wind load. Do not price a screened fence as though it were an unchanged open fence. For the footing workflow, see our fence post installation guide.
5. Set posts and assemble in the required sequence
Before placing concrete, verify each post’s location, orientation, height and plumb on two adjacent faces. Brace it as required, then recheck after placement. Follow the specified drainage detail and concrete instructions rather than combining unrelated methods.
Setting time is not necessarily loading time. QUIKRETE’s Fast-Setting Concrete procedure says the mix sets hard in 20–40 minutes but directs waiting about four hours before constructing the fence or applying heavy weight. That is not a universal footing schedule: the Outdoor Essentials wood-fence guide specifies a 24–48-hour wait. Meet both the fence system’s and concrete product’s requirements before loading the posts; do not use the shorter time to override a longer requirement.
Then follow the material-specific assembly:
- Wood: Attach rails or panels using suitable exterior fasteners, maintain the specified ground clearance and check picket alignment as you work.
- Vinyl: Follow the model’s rail engagement, reinforcement and post-setting sequence. See vinyl fence installation.
- Aluminum: Confirm brackets, post orientation and permitted panel racking before fastening.
- Chain link: Install the framework and any specified tension wire, attach and stretch the fabric between terminal posts, then secure it to rails and line posts. Hoover’s manual describes this sequence; our chain-link installation guide covers the details.
6. Inspect the finished fence—and the quote
Walk both sides. Check post alignment, loose connections, exposed sharp edges, bottom gaps and gate clearance. Open each gate through its full travel and test the latch repeatedly. Plan wood finishing around the chosen finish’s preparation requirements, not an arbitrary installation-day deadline.
For DIY, assess the difficult parts honestly: excavation, accurate layout, panel handling, concrete placement and gate alignment. Consider professional help where utilities, uncertain boundaries, steep terrain or unusually tall or exposed fencing complicate the design.
When hiring, ask for an itemized scope identifying:
- Material specifications, finished height and measured length.
- Post sizes, spacing, footing details and gate reinforcement.
- Gate openings, hardware and slope treatment.
- Removal, disposal, utility-locate responsibility, permits and cleanup.
- Delivery, access restrictions, obstruction charges and finishing exclusions.
Compare the complete installed scope, not only the panel price or a per-foot headline. A quote is much easier to judge when it states what will support the fence and how the gates and terrain will be handled.