
Fence Post Installation: Get the Layout and Footing Right
Plan fence post installation around utility locates, actual panel spacing, footing depth, bracing and concrete load time—not a universal hole size.
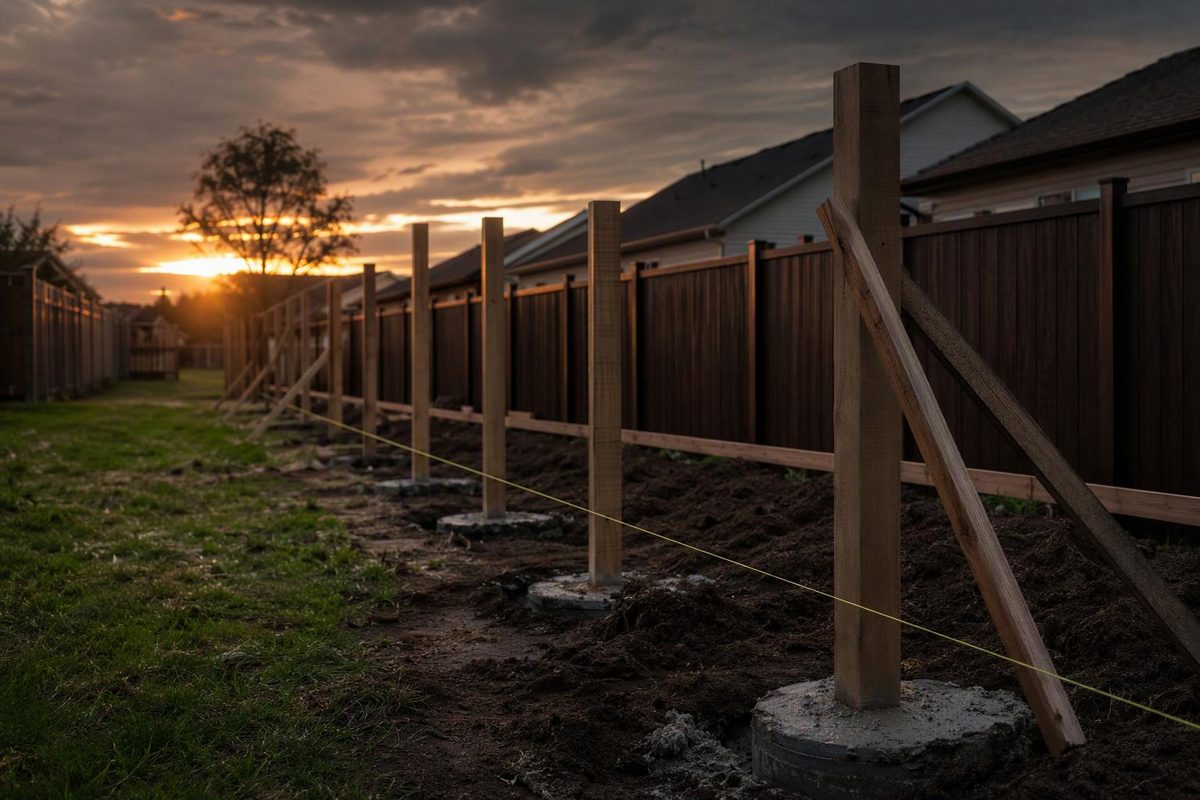
A sound fence post installation starts before the first hole: confirm where the fence can go, choose the post and footing for the fence system, and measure the actual rail, panel and gate connections. Concrete cannot correct the wrong spacing or an undersized post.
The workflow below covers residential posts set in excavated holes. Driven posts are a separate installation method—not simply a shortcut for any fence.
1. Clear the route before digging
Confirm the property boundary and check local requirements for fence height, setbacks and permits. If the boundary is uncertain, resolve it before marking holes. Keep the whole footing within the permitted location, not just the post center. Master Halco’s PostMaster+ installation guidance specifically warns against footings extending beyond property lines or setbacks and recommends a professional surveyor when needed.
For a U.S. project, contact 811 before digging, including small hand-dug holes. Schedule the locate before renting an auger; follow your state’s waiting period, response checks and safe-excavation rules. The 811 campaign advises contacting the service a few days ahead and notes that shallow digging can still hit utilities. Do not treat elapsed time alone as clearance to dig: check the required utility responses through your state’s system. Colorado 811’s homeowner guidance, for example, directs readers to track their request and verify responses before digging.
An 811 request does not necessarily cover privately owned lines. Power to a detached garage, sprinkler systems and gas lines to grills are examples that may require a separate private locator. Account for that appointment before starting work. Gopher State One Call explains the distinction.
Do not move a hole into an unlocated area—or start driving posts—to get around a marked utility conflict.
2. Choose the post and installation method
Select posts by their role as well as the fence material. Do not assume the same specification works for line, corner and gate posts. For example, the PostMaster+ system uses distinct post types and gives different baseline hole depths for line posts versus corner and gate posts, subject to local conditions. See the manufacturer’s installation guidelines.
For buried pressure-treated wood, check the end tag for ground-contact approval; “pressure treated” alone is not enough. YellaWood’s treatment guidance identifies fence posts as a ground-contact application and explains how to read the tag.
Choose the installation method from the post system’s instructions. Master Halco permits concrete setting or professional driving for PostMaster+, while noting that spacing also depends on local conditions and wind exposure. That does not establish driving as suitable for every post or panel.
Use our fence post size guide to organize the specifications, or the drive-in post guide if that is the intended system.
3. Lay out gates and ends before line posts
Establish corners, ends and gate openings first, then divide the remaining runs into sections. Stretch a taut string to establish the fence line, and keep a consistent reference—post centers or a specified post face.
Measure the actual components before marking every hole. A panel’s advertised width does not necessarily equal post-center spacing. Routed engagement, brackets and post width affect the installed section. Universal Forest Products’ ranch-rail instructions, for example, distinguish a 96-inch center-to-center spacing from a 91-inch clear span and direct installers to measure rails and gates before locating holes. Those dimensions belong to that system only.
Dry-fit a section where practical. At gates, use the required opening between posts, including hinge and latch allowances—not just the gate leaf’s nominal width. On slopes, decide whether the fence will step or follow the grade before committing to post heights. For routed panels, see installing a vinyl fence.
4. Separate hole depth from buried post length
There is no universal “two-foot hole” specification. Work from the fence manufacturer’s requirements and applicable local frost, soil and footing requirements.
As a general concrete-setting example, QUIKRETE’s written guide specifies a hole three times the post width, with depth equal to one-third to one-half of the post’s above-ground length plus six inches for a gravel base.
Under that method, a post extending six feet above ground would have:
- 24–36 inches of buried post;
- 30–42 inches of total hole depth, including the six-inch gravel layer;
- 8–9 feet of total post length, before any planned trimming.
That is a planning example, not approval for a tall privacy fence, large gate or difficult site. Gravel occupies hole depth; it does not count as post embedment. Resolve the footing specification before buying posts. Our post-depth guide covers the distinction in more detail.
5. Set, align and brace before filling
Have the tape, level, braces, stakes, fasteners and water ready before placing concrete. Wear the cement product’s required protective equipment; QUIKRETE calls for eye protection, nitrile gloves and a mask.
For its gravel-base method, compact and level the gravel, position the post, then attach braces to two adjacent sides. Check plumb in both directions. Before filling, also check spacing, post orientation and planned height—not merely whether the post stands vertically. See QUIKRETE’s written setting instructions.
Follow the selected footing detail for the top finish. QUIKRETE’s method stops concrete three to four inches below grade and backfills after setting; PostMaster+ instructions instead call for a mounded concrete top to direct water away. Do not combine details indiscriminately.
6. Follow the bag’s water order and load time
Use a dry-pour method only when the concrete product authorizes it. QUIKRETE Fast-Setting Concrete’s post-setting instructions call for dry mix in the hole followed by about one gallon of water per 50-pound bag. They report a 20–40-minute set and about four hours before fence construction or heavy loading. The written guide qualifies that heavy-loading interval by normal curing conditions. Those times are product-specific, not a rule for all concrete.
Keep the posts supported for the required interval. Before attaching rails or hanging a gate, recheck plumb, spacing and height. For quantity calculations and conventional wet mixing, use our guide to concreting a fence post.
If hiring the work out, ask the quote to identify post types, spacing, hole diameter, embedment, concrete product, gate reinforcement and the planned loading interval. “Posts set in concrete” leaves the important installation details unspecified.