
How to Drive In a Fence Post Without Digging a Hole
Match a drive-in fence post to the fence load, choose its depth and spacing, drive it straight, and know when soil or utilities require another method.
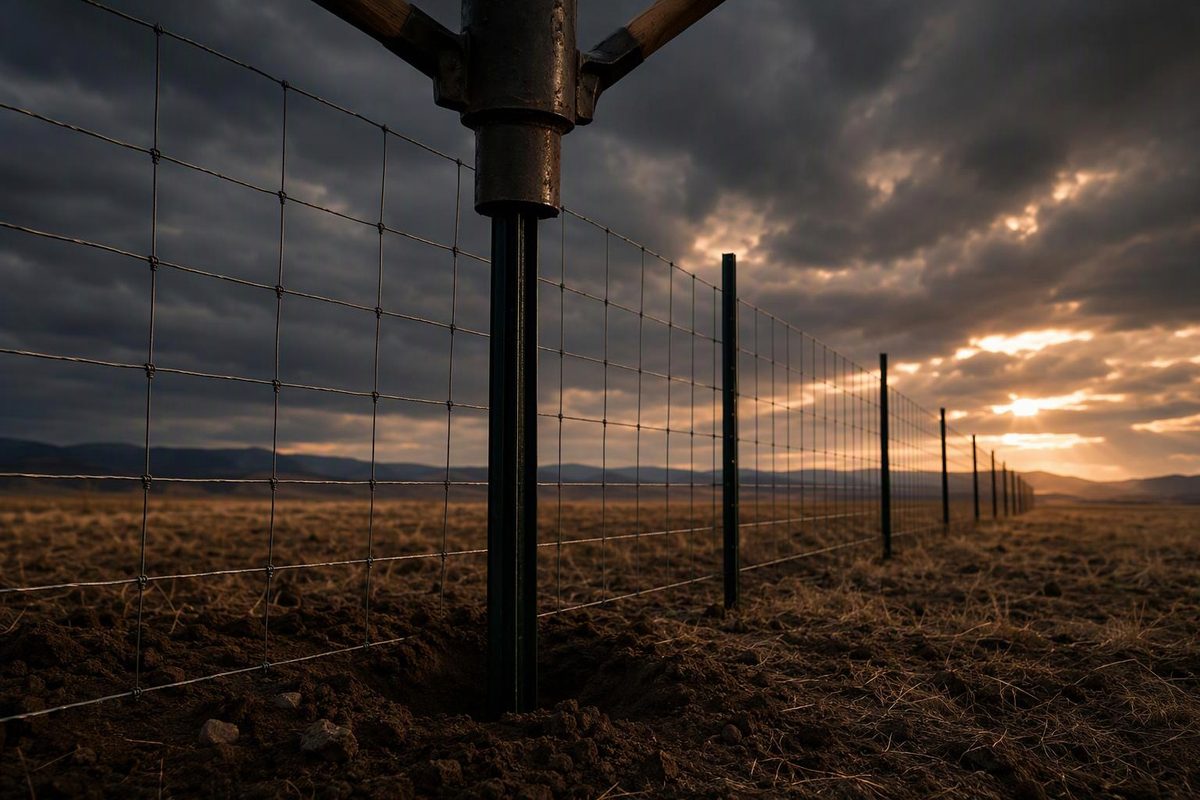
A drive-in fence post can eliminate augering and concrete, but only when the post, soil and fence load match. T-posts work well as line posts for many wire fences. Proprietary ground anchors can support compatible light panels. Driven wood or pipe posts require equipment sized for the post. None should automatically replace a braced terminal, gate post or privacy-fence footing.
First, identify the type of drive-in post
| Post or anchor | Appropriate starting use | Main limitation |
|---|---|---|
| Steel T-post | Barbed wire, woven wire, welded wire and garden fencing | A line post, not a substitute for a properly braced end, corner or gate assembly |
| U-post or light garden stake | Light mesh and temporary garden barriers | Usually too light for livestock pressure or a tall fence |
| Driven round wood post | Agricultural fencing when the post, treatment and driver are suitable | Requires substantial equipment; depth depends on soil, post role and fence design |
| Driven steel pipe or proprietary anchor | A system specifically designed around that post or anchor | Driver, adapter, post dimensions and connection hardware must match |
| Drive-in socket for a wood post | Light decorative panels and similar low-load work | A poor default for tensioned wire, gates or solid panels exposed to wind |
A post socket and a T-post are not interchangeable. The socket is driven first and holds a separate wood post above the soil. A T-post is itself the structural line post.
One fencing supplier advises against post spikes where the post will experience lateral force, citing tensioned chain-link wire as an example. Treat tall solid panels with similar caution unless the complete system is approved for the expected wind load (Witham Timber). For a broader comparison of proprietary anchors and surface-mounted systems, see no-dig fence posts.
How deep should a drive-in fence post go?
There is no universal fraction that works for every driven post.
For a T-post, bury the entire anchor plate. In common installations this results in about 18–24 inches of embedment, but the fully buried plate is the more useful field check (Tractor Supply). Buy the post by adding the required embedment to the finished fence height; do not buy a 6-foot post for a fence that must finish 6 feet above grade.
For a post socket or proprietary anchor, follow its specified penetration. Drive the steel portion to the manufacturer’s stopping point—often with the socket just above grade—rather than burying the wood post or improvising a shallower installation.
For driven wood posts, use the fence design rather than the T-post rule. STAY-TUFF’s high-tensile fence guide, for example, specifies 3½–5½ feet of embedment for wood end posts in firm soil, varying with fence height, and calls for additional depth in sandy or consistently wet soil. Those dimensions belong to that agricultural system and are not a general residential rule (STAY-TUFF installation guide).
Depth is only one part of post capacity. Diameter, post section, soil, moisture, terrain, spacing and the load at that position all matter. Gates, corners and the ends of tensioned-wire runs typically need larger, braced posts. Review fence post sizes by role before ordering one post type for the entire line.
How to drive a T-post straight
1. Confirm the line is safe and legal
Verify the boundary rather than treating an old fence as proof. Check local fence placement, height and permit rules before buying materials.
In the United States, contact 811 a few business days before driving anything into the soil. The national 811 service warns that shallow work still counts as digging because some utilities lie only inches below the surface (811 Before You Dig). Wait for the required responses and respect the tolerance zone and other instructions issued by your state’s 811 center. Separately identify owner-installed facilities that a public locate may not mark, such as irrigation, low-voltage lighting, septic components or private water lines.
2. Build the load-bearing assemblies first
Set and brace the end, corner and gate posts before laying out line posts. In a tensioned-wire fence, those assemblies resist the pull; T-posts primarily hold the wire at the correct height. The STAY-TUFF guide describes line posts as vertical supports and braces as the anchors at the start and end of each run (STAY-TUFF).
3. Establish spacing and alignment
Pull a guide string between terminal assemblies, offset slightly so planned posts cannot push it out of line. Measure each location rather than stepping off the spacing.
An 8–12-foot interval is a common starting range for ordinary T-post wire fencing, but it is not universal. High-tensile systems can use different spacing, while terrain, soil, wire design and animal pressure may call for closer posts (Tractor Supply). Follow the wire manufacturer’s layout when one is supplied.
Use the heavier support specified by the fence system at abrupt dips and humps instead of forcing light T-posts to hold a strongly deflected wire run.
4. Orient and mark each post
Normally, face the studded side of a T-post toward the fence wire so the studs and clips can keep the wire from moving vertically. Then place the wire on the side from which pressure is expected: generally toward contained livestock and outward for an exclusion fence. On a curve, place the wire against the outside of the posts so tension pulls it into them rather than away. STAY-TUFF illustrates this pressure-side and curve arrangement for its fixed-knot system (STAY-TUFF). Follow the wire and clip manufacturer if its orientation differs.
Turn the anchor plate perpendicular to the fence line, then mark the target depth or finished height on every post. A physical mark is more reliable than judging height after dozens of impacts.
5. Use a driver that fits
For a few T-posts, use a tubular manual post driver that fits over the post. Slide it over the post, bring both upright, adopt a stable stance, then lift the driver only several inches and bring it down squarely. One rental tool’s instructions call for safety glasses, steel-toe footwear and gloves and warn about multiple pinch points (A Tool Shed manual). Keep hands on the tool’s intended grip area and away from the post opening and impact points.
For a long run or larger posts, rent an appropriate pneumatic, gas or hydraulic driver. Match the chuck or adapter closely to the post. A Rhino powered-driver manual warns that an oversized chuck can batter the post and damage the machine; it also specifies eye, foot, hearing and hand protection (Rhino GPD-40 manual). Follow the manual for the exact machine rather than transferring controls or procedures from another model.
6. Start slowly and check two directions
Hold the post plumb and begin with short, controlled strokes or low power. Stop after the post has gained enough purchase to stand, then check it from two perpendicular directions. Correct a small drift early, before the buried section makes realignment difficult. Also sight down the run to ensure the post has not pushed the guide string aside.
Once aligned, continue to the depth mark. With a powered unit, keep the driver centered over the post. Rhino’s instructions say to establish that the post is driving straight before applying full throttle (Rhino).
Stop rather than forcing a bad drive
Stop if the post suddenly refuses to advance, bends, twists significantly or repeatedly jumps off line. More force can damage the post without solving bedrock, buried concrete, large roots or demolition debris. Move the location only if the fence layout and utility markings allow it. Otherwise, pull the post and determine whether the fence system permits a pilot hole, drilled footing or different foundation.
Do not cut off a driven post merely to make a crooked row look level. A badly leaning T-post should be pulled and reset. If several posts refuse at a similar depth, treat that as a site condition—not a cue to use a larger hammer blindly.
After all posts are stable and aligned, tension and attach the fence according to the wire system. Do not ask unbraced T-posts to absorb terminal tension, and do not hang a gate from a light driven line post.