
Set a Fence Post in Concrete Without Guessing the Footing
Learn how deep and wide to dig, calculate bag count, place wet or approved no-mix concrete, brace the post, and wait before loading the fence.
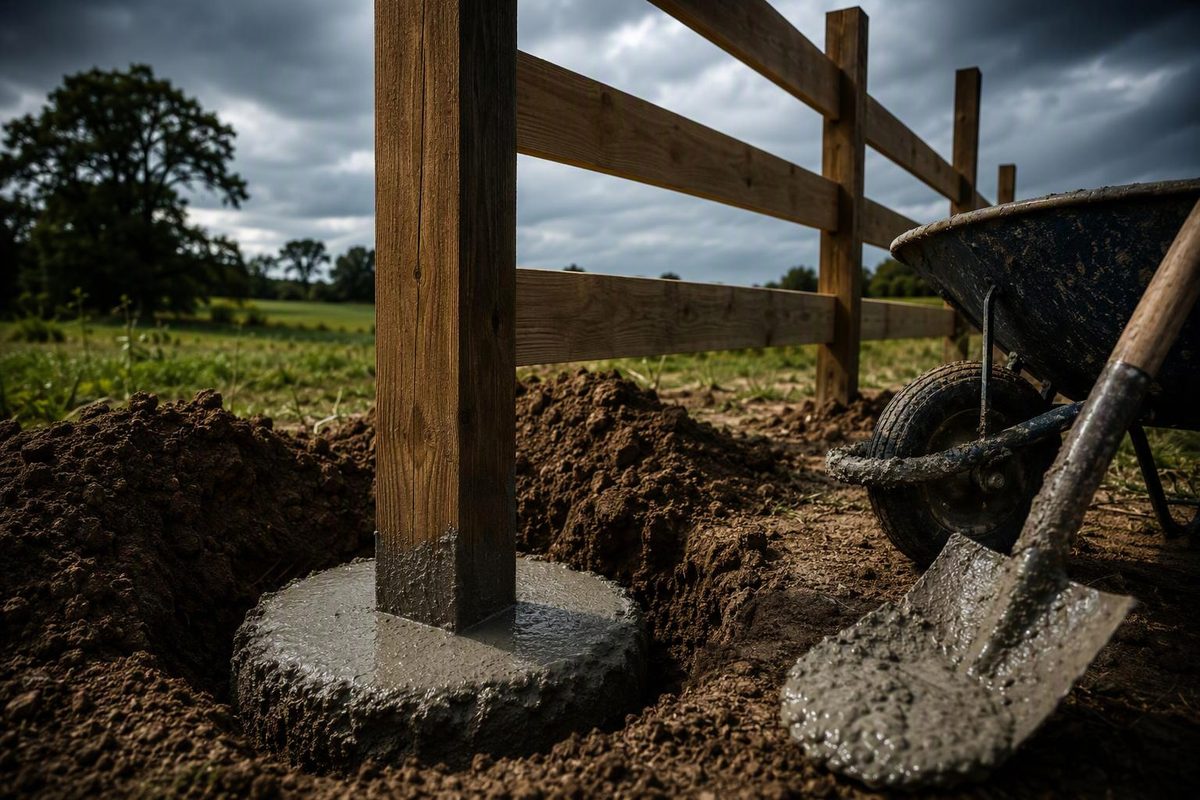
To concrete a fence post, locate utilities and the property line, dig the specified footing, brace the post plumb, and place the concrete exactly as its manufacturer directs. A common starting point is a hole three times the post width, but local frost rules, soil, wind exposure, post function, and the fence manufacturer can require a larger or deeper footing. Dry placement is acceptable only when the specific bagged product permits it.
Enter the hole and post dimensions; the calculator gives concrete volume and whole-bag count.
Concrete and Bag Calculator
For one cylindrical hole with a centered square post. Dimensions use the concrete depth, not the gravel depth.
Change the bag yield
Complete the Checks Before Digging
Confirm the fence line from a survey or other reliable boundary information. An old fence, mowing line, or utility marker is not proof of a property boundary. Check local requirements for permits, setbacks, fence height, and footing depth.
In the United States, contact 811 a few business days before excavation and follow the instructions from your state center. National 811 guidance specifically identifies fence installation as work that requires a locate request before digging. Outside the U.S., use the applicable utility-location service.
Identify each post by function before selecting the footing. Gate, corner, and end posts carry greater loads than ordinary line posts and may need larger posts and footings. The fence post size guide covers the other sizing variables.
Read the instructions for the complete fence system. Vinyl systems may specify exact on-center spacing, reinforcement, and concrete-fill requirements. A generic wood-post detail should not replace the instructions for a routed vinyl system; vinyl fence installation depends on the system.
For a buried wood post, inspect the treatment end tag. The American Wood Protection Association system identifies sawn fence posts as a typical UC4A ground-contact application. UC4B covers severe environments and critically important components in its preserved-wood use categories. The words “pressure treated” alone do not identify the exposure rating.
Size the Hole for the Fence and Site
A useful manufacturer starting point for an ordinary fence post is a hole approximately three times the post width. A nominal 4-by-4 therefore commonly starts with a hole about 12 inches across.
Quikrete recommends that ratio and a hole depth equal to one-third to one-half of the post’s above-ground length, plus 6 inches for a gravel base in its post-setting guide. The concrete depth used in a volume calculation excludes the gravel layer.
That guidance is a starting point, not a universal footing specification. Use any greater depth or footing size required by:
- the local building department or frost conditions;
- the fence manufacturer;
- a gate, corner, end, or terminal-post detail;
- tall or solid privacy fencing exposed to wind;
- loose, disturbed, wet, or otherwise weak soil.
Do not dig a hole that flares outward toward the surface like a funnel. In freezing climates, that shape gives heaving soil a surface it can lift. Vertical sides or a bottom wider than the top are preferable. Sakrete also advises against a cone-shaped hole that narrows toward the bottom in its post-setting guide. Follow the specified detail where a formed or engineered footing is required.
Calculate Concrete From Bag Yield
For a reasonably cylindrical hole, calculate the cylinder volume and subtract the volume displaced by the buried post.
Concrete in cubic feet equals π multiplied by the square of half the hole diameter in feet, multiplied by the concrete depth in feet, minus the buried post volume in cubic feet.
Use the post’s actual dimensions rather than only its nominal name. Divide the resulting concrete volume by the yield printed on the bag, then round up to a whole bag. Add a modest allowance for an irregular excavation and spillage; no universal allowance is specified in the cited instructions.
For example, a 12-inch-diameter concrete column 24 inches deep has a gross volume of about 1.57 cubic feet. An actual 3.5-inch-square post occupying that depth displaces about 0.17 cubic foot, leaving approximately 1.40 cubic feet of concrete.
At a yield of 0.375 cubic foot per bag, that footing requires 3.74 bags. Buy at least four bags per hole, plus an allowance if the excavation is rough.
Bag yield varies by product and package size. Quikrete’s November 2025 technical sheet lists approximate yields of 0.375 cubic foot for its 50-pound Fast-Setting Concrete Mix and 0.45 cubic foot for its 60-pound bag in the product data. Use the yield printed for the product and bag size you actually purchase instead of relying on a generic bags-per-post rule.
Set the Post in Six Steps
1. Mark the Exact Post Center
Run a taut mason’s line between established end or corner posts. Mark each post center according to the actual panel, rail, or chain-link spacing. Account for gate openings and hardware before concrete fixes the posts in place.
2. Dig and Prepare the Footing
Excavate to the required diameter and depth, then remove loose soil from the hole. Do not count loose material at the bottom as dependable footing depth.
If the selected detail calls for drainage material, place and compact 4 to 6 inches of gravel while preserving the specified post embedment and concrete depth. Quikrete’s general procedure uses 6 inches of compacted gravel beneath the post.
A gravel layer does not correct a chronically flooded site. Address drainage and unsuitable soil rather than creating a water-filled pocket around a wood post.
3. Position and Brace the Post
Set the post at its finished height. Check for plumb on two adjacent faces, then fasten braces to stakes in two directions. Check alignment against the mason’s line without pushing the line sideways.
For a gate post, orient the mounting face toward the opening and verify the hinge and latch clearances. A post can be plumb but still be incorrectly rotated or spaced.
4. Follow the Product’s Placement Method
The correct water and placement sequence depends on the specific bagged concrete.
For its Fast-Setting Concrete Mix, Quikrete directs users to pour dry mix around the post and then saturate it with approximately 1 gallon of water per 50-pound bag, depending on soil conditions in the product data.
Sakrete’s fast-setting instructions use a different sequence: fill the hole one-third full of water before adding that product’s dry mix in its data sheet.
If the product requires mixing, combine it with the specified amount of clean water in a wheelbarrow, tub, or mixer. Place it evenly around the post and consolidate it carefully to remove voids without shifting the post.
Do not improvise a dry-pour method for concrete that requires premixing. Do not assume that all no-mix products use the same sequence.
5. Recheck Height, Line, and Plumb
Check all three immediately after placement and again before initial set. Sight along the fence run for a post that is twisted or offset. Fast-setting concrete leaves little time for correction.
Finish the top according to the post and fence-system detail. One common approach is to crown exposed concrete slightly away from the post so water cannot pond at the interface. Some manufacturer details instead stop the concrete several inches below grade and specify soil or sod above it. Do not leave a depression that collects water beside a wood post.
6. Keep the Post Braced and Unloaded
Leave the braces in place and keep loads off the post for the period stated by the concrete and fence manufacturers. Initial set, permitted loading time, and full strength are separate milestones.
Quikrete lists a 20-to-40-minute set for its Fast-Setting Concrete Mix but directs users to wait four hours before placing strain on the post. Its technical data shows strength continuing to develop through 28 days. Cold conditions slow hydration, and the sheet requires protection from freezing for at least 48 hours in the technical data.
The fence system may specify a longer delay. One vinyl-fence installation guide calls for waiting 24 hours after setting posts before installing the sections in its installation instructions.
Wear eye protection, impervious gloves, and the respiratory protection specified by the concrete manufacturer. Wet cement can cause severe skin and eye injury, while dry concrete mix creates inhalable dust.
Avoid Errors That Require Rework
Do not set posts until utility-location and boundary checks are complete. Once concrete has cured, correcting a misplaced post generally means removing or abandoning the footing.
Use lumber rated for the below-grade exposure, and do not treat a heavily loaded gate or terminal post like an ordinary line post. Measure the actual fence components instead of guessing panel spacing.
Check bag yield before buying concrete. Excess water, an unapproved dry-placement method, and loading the fence too soon can compromise the work. For vinyl fencing, do not fill every post with concrete unless the system’s reinforcement detail calls for it.
Shape or cover the finished footing as the applicable detail requires so water does not pond against the post.
Concrete is suitable where the post and footing must resist substantial lateral load, but it is not mandatory for every light fence. If utilities, excavation limits, or future removal make a footing undesirable, compare properly matched no-dig post systems rather than reducing a required concrete footing below the size needed by the fence.